There’s something deeply comforting about a vintage heart cake. It’s not just about the frosting or the flavor—it’s the emotion baked into its swirls and the memories it revives. In this article, I’ll walk you through the story behind this retro dessert, show you how to make it from scratch, and help you create a showstopper that channels both love and timeless charm. From perfectly domed tops to soft, vanilla-scented layers and swoon-worthy buttercream, this vintage heart cake is your new favorite bake for birthdays, anniversaries, or quiet moments that need a little sweet romance.
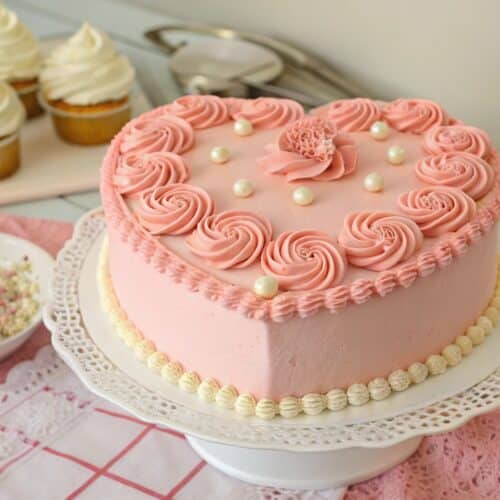
Vintage Heart Cake
Equipment
Ingredients
- For the Cake:
- 1 cup unsalted butter softened
- 1 ¾ cups granulated sugar
- 4 large eggs room temperature
- 2 ½ cups all-purpose flour
- 2 ½ tsp baking powder
- ½ tsp salt
- 1 cup whole milk room temperature
- 1 ½ tsp vanilla extract
- ½ tsp almond extract
- For the Buttercream:
- 1 ½ cups unsalted butter softened
- 5 cups powdered sugar sifted
- 3 tbsp heavy cream or milk
- 1 tsp vanilla extract
- Gel food coloring pink or pastel
- Optional Decorations:
- Maraschino cherries
- Edible pearls or sprinkles
- Edible glitter
Instructions
- Preheat your oven to 350°F (175°C). Grease two 8-inch round pans and one 8-inch square pan. Line with parchment paper.
- Cream butter and sugar until light and fluffy, about 3–5 minutes.
- Add eggs one at a time, beating well after each addition.
- In a separate bowl, whisk together flour, baking powder, and salt.
- Add the dry ingredients to the butter mixture in thirds, alternating with milk. Stir in vanilla and almond extract.
- Divide batter evenly between the pans and smooth the tops.
- Bake for 25–30 minutes or until a toothpick inserted comes out clean. Cool completely.
- Cut the square cake in half diagonally to create two triangles.
- Arrange the two round cakes side-by-side. Position the triangles on top to form a heart shape.
- Make the buttercream by beating the butter until smooth. Gradually add powdered sugar, then cream and vanilla. Tint with food coloring.
- Apply a thin crumb coat over the cake. Chill for 20 minutes, then frost fully and pipe borders or decorations as desired.
- Garnish with cherries and pearls. Serve at room temperature.
Notes
Nutrition
Table of Contents
Table of Contents
The Vintage Heart Cake Story & Why It’s So Loved
A Sweet Slice of Nostalgia
I still remember the first time I saw a vintage heart cake—it was in my great-aunt’s kitchen during a Valentine’s Day gathering. The air smelled of almond extract and powdered sugar, and the cake sat proudly on her antique milk glass stand, covered in pink rosettes with little candy pearls. I was six, but it’s etched in my memory like a Polaroid snapshot. That cake wasn’t just dessert—it was a centerpiece, a memory-maker, a heart-shaped promise of everything good.
Back then, cakes were baked in humble pans, and decorated by hand with piping bags that had seen better days. But they were made with heart—literally and figuratively. That’s what I love about a true vintage heart cake: it doesn’t try to be trendy. It’s soft, unapologetically sweet, and packed with flavor that reminds you of simpler times.
This cake isn’t just for Valentine’s or anniversaries. It’s for anyone who believes desserts should be a little romantic and very real. Whether you’re baking it for someone you love or simply treating yourself, this heart-shaped classic brings joy in every bite. The vintage heart cake has come back into fashion not because it’s trendy, but because it never really left our hearts.
What Makes a Heart Cake Truly “Vintage”?
The charm of a vintage heart cake lies in its retro details—think pastel buttercream, piped shell borders, maraschino cherries, and soft, spongy layers that hold their shape without being dry. Traditionally, these cakes were made using two round pans and a square pan, cut and arranged into a heart shape—no need for a specialty pan!
Decorations often involve a palette of pinks, soft whites, and classic piping techniques like star tips and scallops. The frosting? Usually a rich American buttercream or an old-fashioned boiled icing, tinted blush and spread with care. These cakes are less about modern mirror glaze and more about evoking feeling—comfort, warmth, and nostalgia.
This setup is traditional and perfect for achieving that authentic heart shape, just like the piped scrollwork seen in a classic Lambeth cake. For a more romantic twist, the decadent chocolate raspberry cake brings similar heartfelt vibes with bold flavors
How to Make a Vintage Heart Cake from Scratch
Ingredients You’ll Need (Simple and Classic)
To make a truly vintage heart cake, we’re sticking with pantry-friendly basics and a touch of tradition. This recipe yields a tender vanilla cake with a buttery crumb, just like the ones your grandma used to bake—plus that retro almond essence that makes it sing.
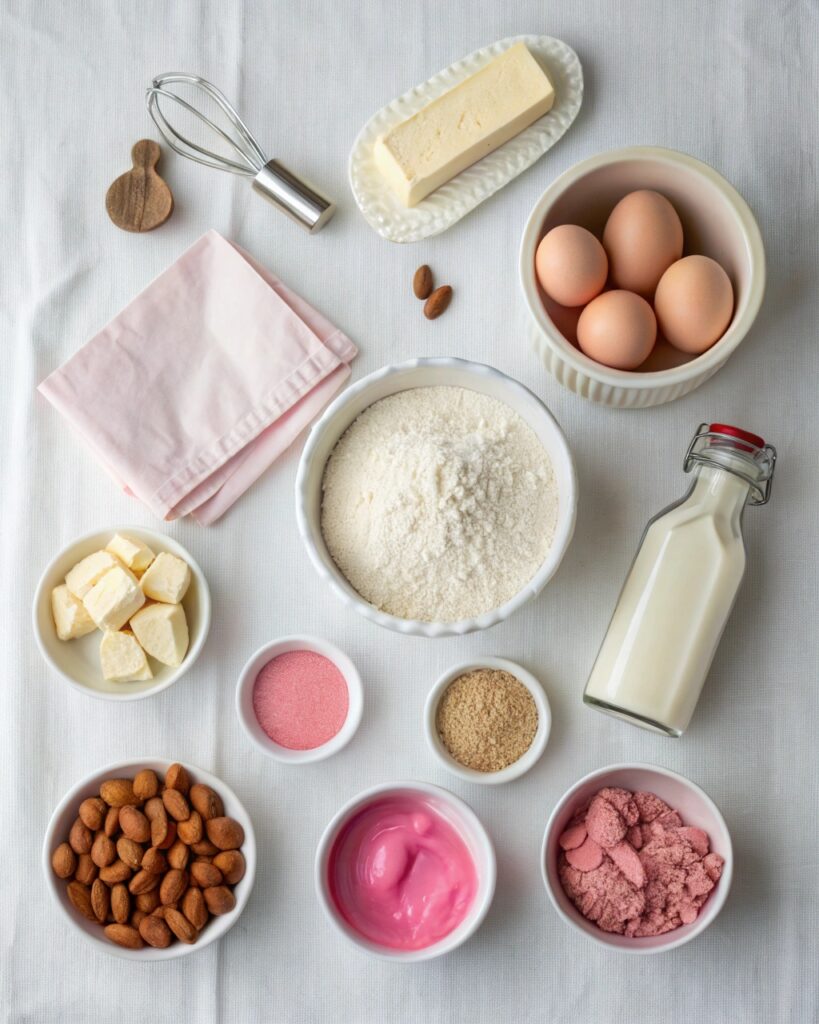
Here’s what you’ll need:
- 1 cup unsalted butter (softened)
- 1 ¾ cups granulated sugar
- 4 large eggs, room temperature
- 2 ½ cups all-purpose flour
- 2 ½ tsp baking powder
- ½ tsp salt
- 1 cup whole milk, room temperature
- 1 ½ tsp vanilla extract
- ½ tsp almond extract
For the Buttercream:
- 1 ½ cups unsalted butter (softened)
- 5 cups powdered sugar, sifted
- 3 tbsp heavy cream or milk
- 1 tsp vanilla extract
- Gel food coloring (pink or pastel)
Optional for decorating:
- Maraschino cherries
- Pearl sprinkles
- Edible glitter
Pan Prep & Shape Tips
You don’t need a specialty pan to create a heart shape. Here’s how:
- Use two 8-inch round pans and one 8-inch square pan.
- Grease and line all pans with parchment paper.
- After baking, cool completely. Cut the square cake in half diagonally to form two triangles.
- Place the two round cakes side by side, then position the triangles at the top to create the top humps of the heart.
This setup is traditional and perfect for achieving that authentic heart shape.
Similar to the base of our yellow cake with chocolate buttercream, this recipe builds on a fluffy crumb structure. Want to deepen the flavor? Try adding a touch of espresso like we do in the chocolate cakes with espresso glaze.
How to Assemble and Frost a Vintage Heart Cake the Right Way
Shaping the Vintage Heart Cake: Classic and Easy
Once your cake layers have fully cooled (or chilled for cleaner handling), it’s time to shape and build your vintage heart cake. No special pans are needed—just classic technique.
- Place two round cakes side-by-side at the bottom of your cake board. These will form the curved base of your vintage heart cake.
- Cut your square cake in half diagonally to create two neat triangles.
- Position each triangle at the top of the round cakes. You’ll instantly see the heart shape come together.
This traditional method dates back to mid-century home bakers and is still the go-to trick for a perfect vintage heart cake design. If you’re unsure, practice this layout before frosting.
Apply a thin layer of buttercream all over the cake—this is your crumb coat. It locks in crumbs and creates a smooth base. Chill your vintage heart cake for 20 minutes, then apply a second, thicker coat of buttercream for a dreamy retro finish.
Vintage Heart Cake Decoration: Rosettes, Shells, and Retro Vibes
Vintage heart cake decorating is all about charm and texture. You don’t need fondant or fancy gear—just a piping bag and a steady hand.
Use a star tip (like Wilton 1M or 2D) to pipe classic buttercream rosettes and shell borders around your cake. Choose pastel pink, blush, or mint green gel food coloring to match traditional vintage cake styles. Want it extra vintage? Add pearl sprinkles or a maraschino cherry on each rosette.
If you love that bakery-style lettering, use a small round tip to pipe messages like “Be Mine” or “Happy Anniversary.” Keep the font playful—vintage heart cake messages should feel joyful and personal.
Bright pink buttercream lends a playful pop, similar to the tones in our vegan red velvet cake. And if you want height and layers, get inspired by the stacked drama of our red velvet crepe cake.
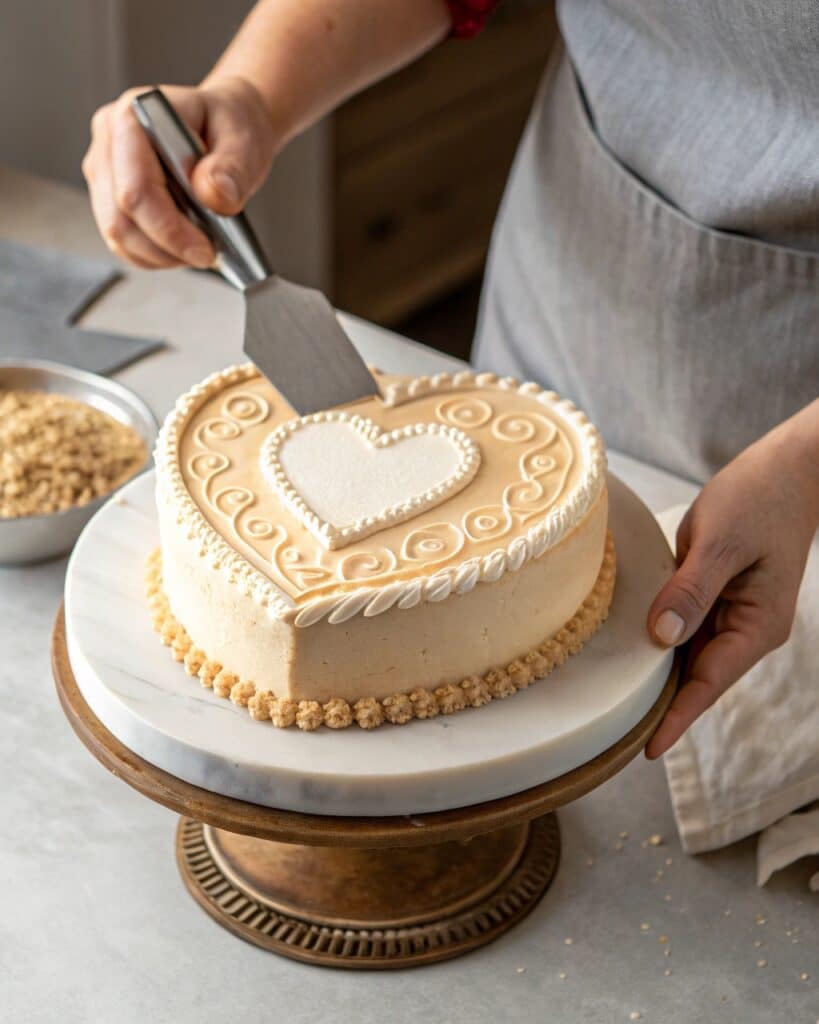
Want to take your vintage heart cake over the top? Add edible glitter or pastel confetti to finish it off with sparkle and flair.
Serving Your Vintage Heart Cake and Keeping It Fresh
How to Serve a Vintage Heart Cake Beautifully
The moment your vintage heart cake is fully frosted and piped, it’s ready to shine. You don’t need a fancy dessert table—just a flat surface, a cake stand if you have one, and maybe a few fresh flowers or doilies for that retro charm.
Use a hot knife (dip it in warm water and wipe dry) to slice the cake cleanly. Serve at room temperature for the best texture—this brings out the full flavor of the buttery layers and almond-vanilla notes that make a vintage heart cake so irresistible.
Pair your slices with coffee, tea, or a sparkling rosé. This cake shines at everything from bridal showers and birthday parties to cozy dinners for two.
Storing a Vintage Heart Cake: Keep It Moist and Pretty
If you have leftovers (which, trust me, is rare), storing your vintage heart cake the right way keeps it fresh for days.
Cover the cake loosely with plastic wrap or place it in an airtight cake container. Store it at room temperature for up to 2 days. If your kitchen is warm or humid, refrigerate it—just be sure to bring it back to room temp before serving so the buttercream softens up beautifully.
Want to freeze slices? Wrap each piece tightly in plastic wrap, then foil, and store in a freezer-safe container for up to 2 months. Let slices thaw overnight in the fridge, then rest at room temp before serving.
For a naturally colored twist, check out our vegan red velvet cake with beetroot. If you’re baking for gluten-free guests, the gluten-free vegan red velvet cake is another beautifully festive alternative
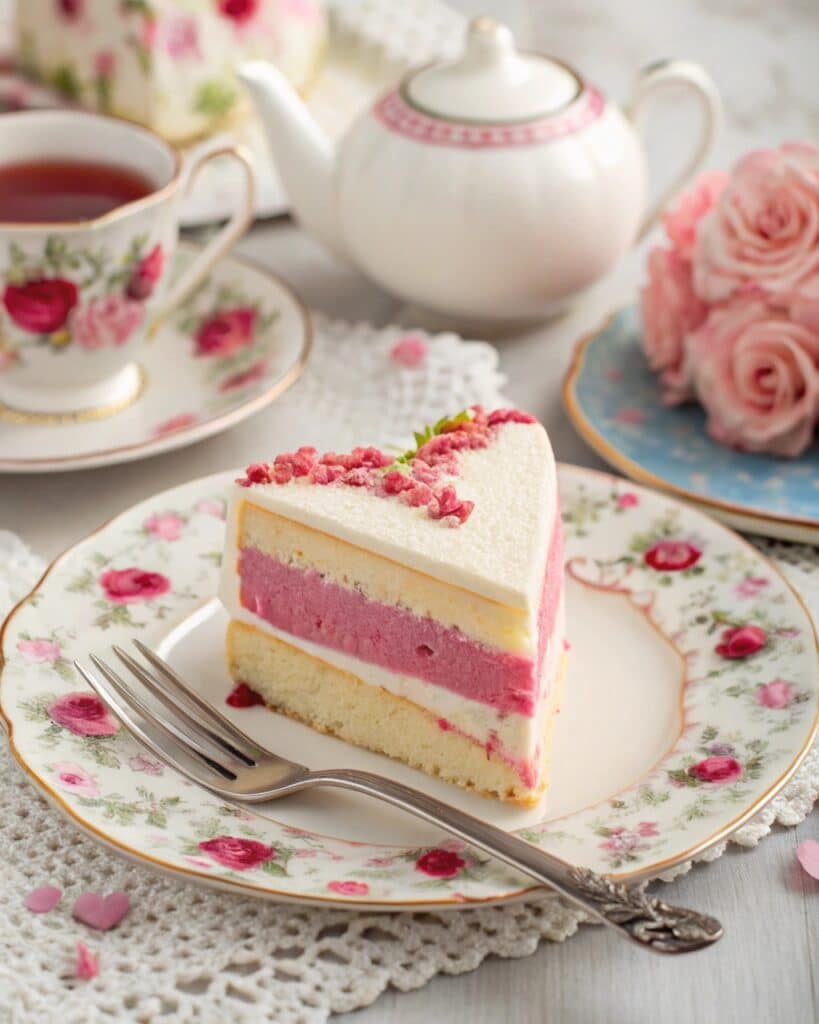
A well-made vintage heart cake is more than dessert—it’s edible nostalgia. The simple flavors, the heartfelt shape, the old-fashioned decorations—they all work together to remind us of why home baking is special. It’s not just about impressing guests; it’s about creating moments, memories, and a little magic on a plate.
FAQs about Vintage Heart Cake
Can I make a vintage heart cake without a heart-shaped pan?
Yes! Simply use two 8-inch round pans and one 8-inch square pan. Cut the square cake in half diagonally to form two triangles. Place the round cakes side-by-side at the bottom, then fit the triangles on top to create the classic heart shape.
What frosting works best for a vintage heart cake?
A rich American buttercream is the most authentic choice. It pipes well, holds vintage-style rosettes, and pairs beautifully with the almond-vanilla cake base. You can also try boiled frosting for an old-school touch.
How far in advance can I make a vintage heart cake?
You can bake the cake layers up to 2 days in advance and refrigerate them wrapped tightly. Frosting and decorating can be done the day before serving. Leftovers store well for 2–3 days at room temperature or longer in the fridge.
What decorations give a vintage heart cake its signature look?
Piped buttercream borders, pastel colors, maraschino cherries, pearl sprinkles, and cursive lettering give the cake that retro appeal. Keep it sweet and simple—the charm is in the homemade feel.
Conclusion: A Vintage Heart Cake That Bakes in Memories
A vintage heart cake isn’t just a dessert—it’s a story, a throwback, and a love letter to simpler times. Whether you’re making it for Valentine’s Day, a birthday, or just because, this cake brings people together the old-fashioned way—with butter, sugar, and heart. You don’t need a special occasion. You just need a little time, a little love, and a craving for something sweetly nostalgic. Try this recipe, make it your own, and let this vintage heart cake become part of your story—just like it is mine.
for more recipe Follow us in Facebook or Pinterest
