Discover the perfect blend of comfort and indulgence in my Gluten-free Vegan Red Velvet Bundt Cake with Sticky Marshmallow Icing. This cake brings back warm memories from my kitchen, where love and creativity always took center stage. As I crafted this recipe, I envisioned not only a delightful dessert but also a way to share joy with family and friends. This cake isn’t just about its vibrant color; it’s about celebrating moments and flavors that make life sweeter. Join me as we embark on this delicious journey into the world of baking where every ingredient is a step toward creating happiness.
Table of Contents
The Story & Introduction
Growing up, my kitchen was my favorite spot — a refuge where I learned to turn basic ingredients into something extraordinary. The first time I baked a red velvet cake, I was captivated by its deep color and velvety texture. It symbolized celebration and love for me. Years later, I decided to reinvent this classic recipe with a gluten-free and vegan twist. After all, everyone deserves to enjoy a slice of joy, regardless of dietary preferences. I created my Gluten-free Vegan Red Velvet Bundt Cake with Sticky Marshmallow Icing because I want everyone to share that same warmth I felt in my childhood. The best part? You can whip it up whether you’re a seasoned baker or a newbie in the kitchen. So, roll up your sleeves and get ready for a delightful baking adventure that brings comfort, joy, and a little bit of magic to your table.
This cake is not only visually stunning but also easy to make! The blend of gluten-free flour and natural ingredients ensures everyone can enjoy it, while the aquafaba acts as a fantastic egg replacement, creating that lovely cake texture you crave. The Sticky Marshmallow Icing is the cherry on top — it adds a whimsical touch that will impress your guests and leave them wanting more. Whether it’s a birthday celebration or simply a weekend treat, this cake embodies love and joy in every slice. You’ll find it not just a delicious dessert but a meaningful experience. After experiencing the flavors and aromas, your kitchen will undoubtedly become a warm haven too.If you love experimenting with red velvet, don’t miss my fun twist in these Red Velvet Tiramisu Cups — another playful way to enjoy this iconic flavor.
Ingredients and Substitutions of Gluten-free Vegan Red Velvet Bundt Cake
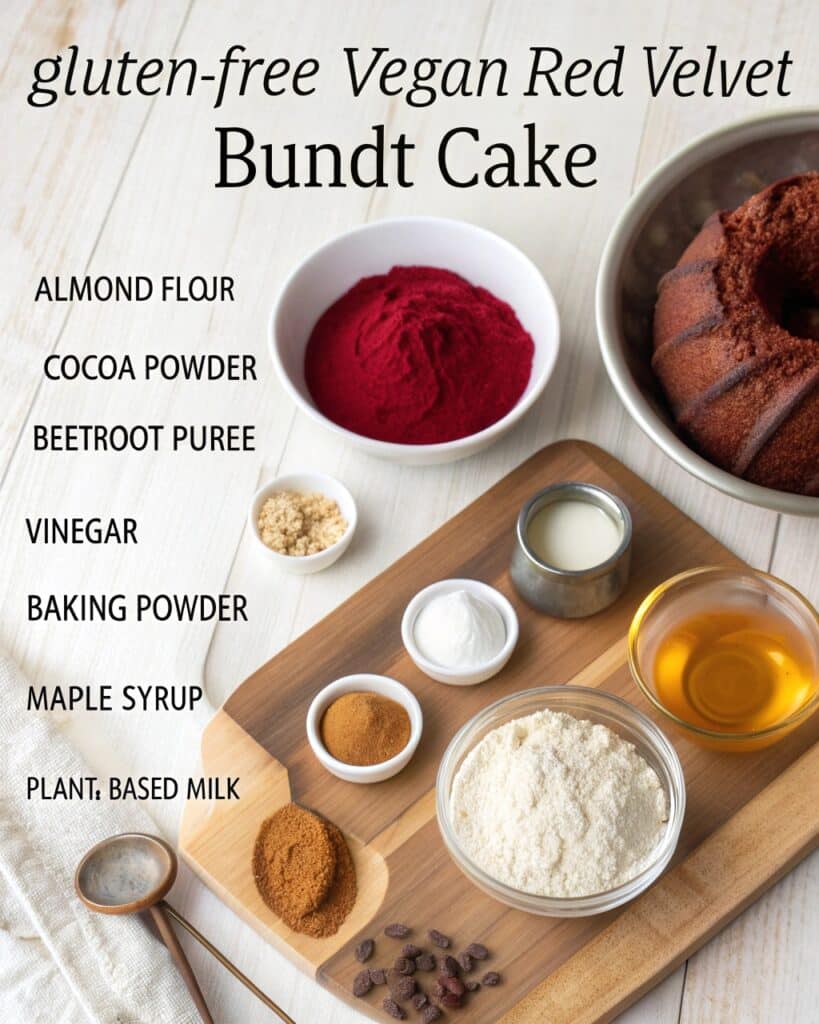
For this delightful cake, let’s gather the essentials and understand the role of each ingredient. Here’s what you’ll need to bring this beautiful cheesecake to life:
- 6 Tablespoons of aquafaba (“egg whites” from garbanzo beans)
- A pinch of salt
- 2/3 cup sugar
- 1 and 1/2 cups light corn syrup
- 2 teaspoons vanilla extract
- 12 Tablespoons vegan butter at room temperature
- 1 and 1/2 cups granulated sugar
- 2 Tablespoons cocoa powder
- 1 and 1/2 teaspoons baking soda
- 1/2 teaspoon xanthan gum
- 1 pinch salt
- 2 and 1/4 cups gluten-free flour
- 1 cup rice milk
- 2 flax eggs (2 Tablespoons ground flax seeds mixed with 1 Tablespoon of white vinegar and 1 teaspoon vanilla extract)
- 2 Tablespoons red food coloring (adjust to your liking)
Collecting these components is the first step to success. Aquafaba is a wonderful vegan substitute that provides that lovely lift without eggs, making this cake light and airy. Don’t hesitate to experiment with the flour type as well — a blend of gluten-free all-purpose flour works excellent. The use of ground flax seeds creates a nutritious touch and enhances texture.If you want to explore another classic, you might also enjoy my Red Velvet Cake Recipe for a more traditional version.

As you prepare the ingredients, I encourage you to think about your unique substitutions. Want a sweeter taste? Perhaps a touch more sugar in the batter works for you! Cooking is about personal expression and creativity. As you prep, think of what each ingredient brings — not just to the flavor but also to the joy of baking and sharing. For fellow plant-based bakers, don’t miss my Vegan Chocolate Cake, another decadent dessert that proves vegan baking is just as indulgent.
Directions for the Gluten-free Vegan Red Velvet Bundt Cake
To start, preheat your oven to 350 degrees F. While the oven warms up, you can prepare your wet ingredients. In a mixing bowl, combine the food coloring, vanilla extract, white vinegar, flax eggs, and rice milk. No need to rush; let the colors blend beautifully. Set this mixture aside as you tackle the dry ingredients.
Next, in your stand mixer with the paddle attachment, cream together the vegan butter and sugar until fluffy. Adding the baking soda, salt, and xanthan gum comes next. To avoid clumps, sift the cocoa powder using a fine mesh strainer, then combine everything. Alternating between adding the dry and wet mixtures will help achieve a lovely batter consistency.
Spray your bundt pan generously to avoid sticking, and pour the batter into it. Bake for 25-30 minutes or until a toothpick comes out clean. In the meantime, allow your cake to cool in the pan for about five minutes before inverting it onto a wire rack to cool completely. This is a crucial moment. Don’t forget, the cake deserves your patience to come out perfectly!
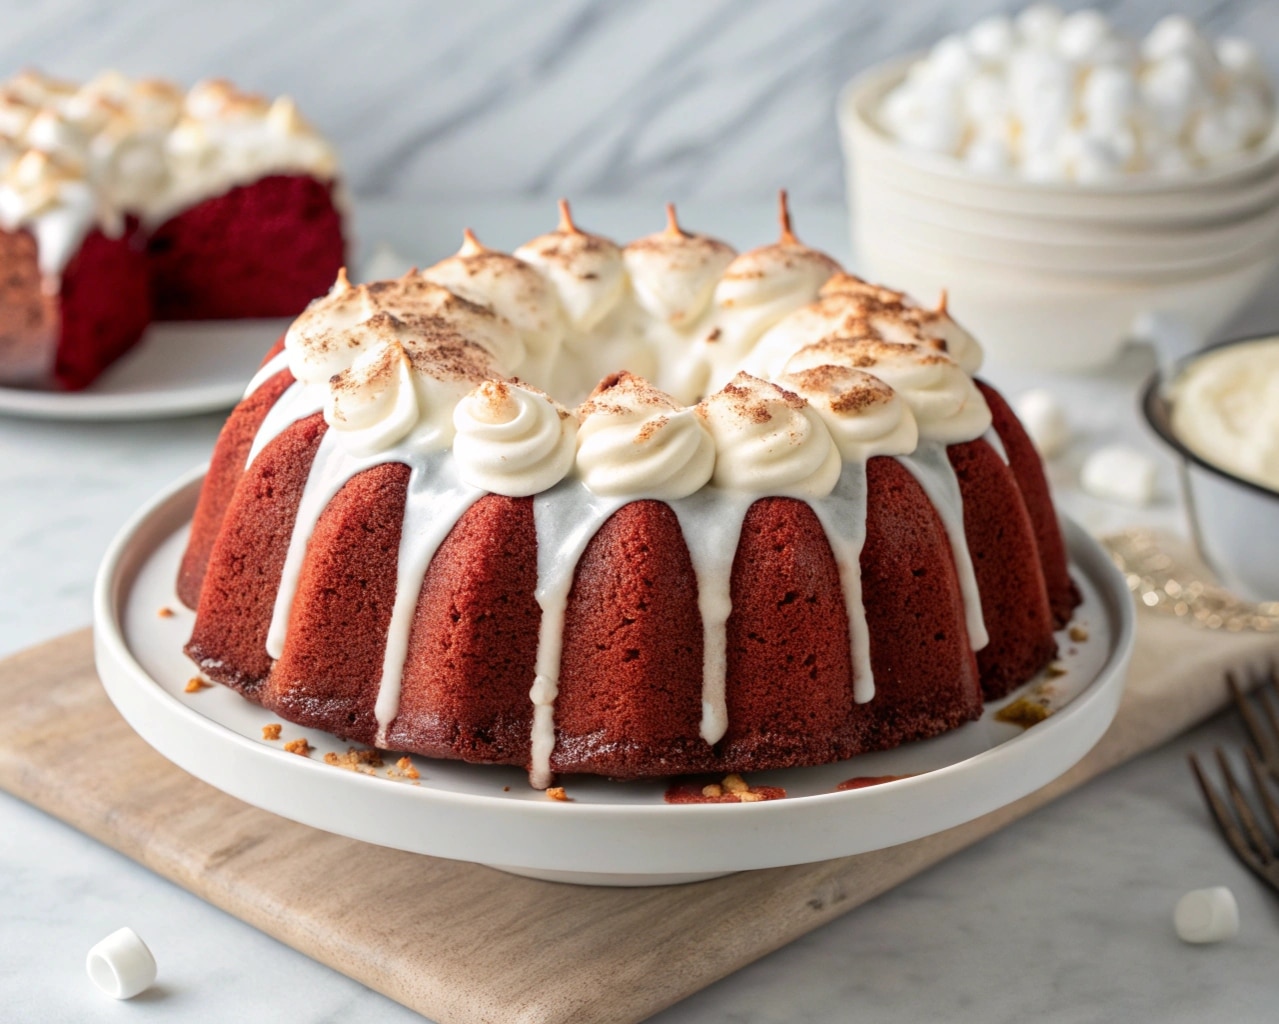
While you wait, think about the sticky marshmallow icing that will take this cake over the top. Just imagine how delightful it’ll be! In your stand mixer with the whisk attachment, beat the aquafaba and salt on high until you achieve soft peaks. Slowly add in your sugar while your mixer continues running. Meanwhile, heat the corn syrup until it boils in a small saucepan.
Gradually pour the syrup mixture into your mixing bowl, ensuring it’s well blended, and continue to whisk on high for about five minutes. This brings that glossy, sticky consistency. Add the last touch with vanilla extract, and just like that, your icing is ready to be poured over the cooled cake.
Remember, the icing does not keep well, so plan to serve your beautifully decorated bundt cake right after making it. It’s bound to be a hit at any gathering!
For another plant-based twist on this flavor, try my Vegan Red Velvet Loaf Cake — perfect for everyday snacking.
Tips for Decoration and Serving the Gluten-free Vegan Red Velvet Bundt Cake
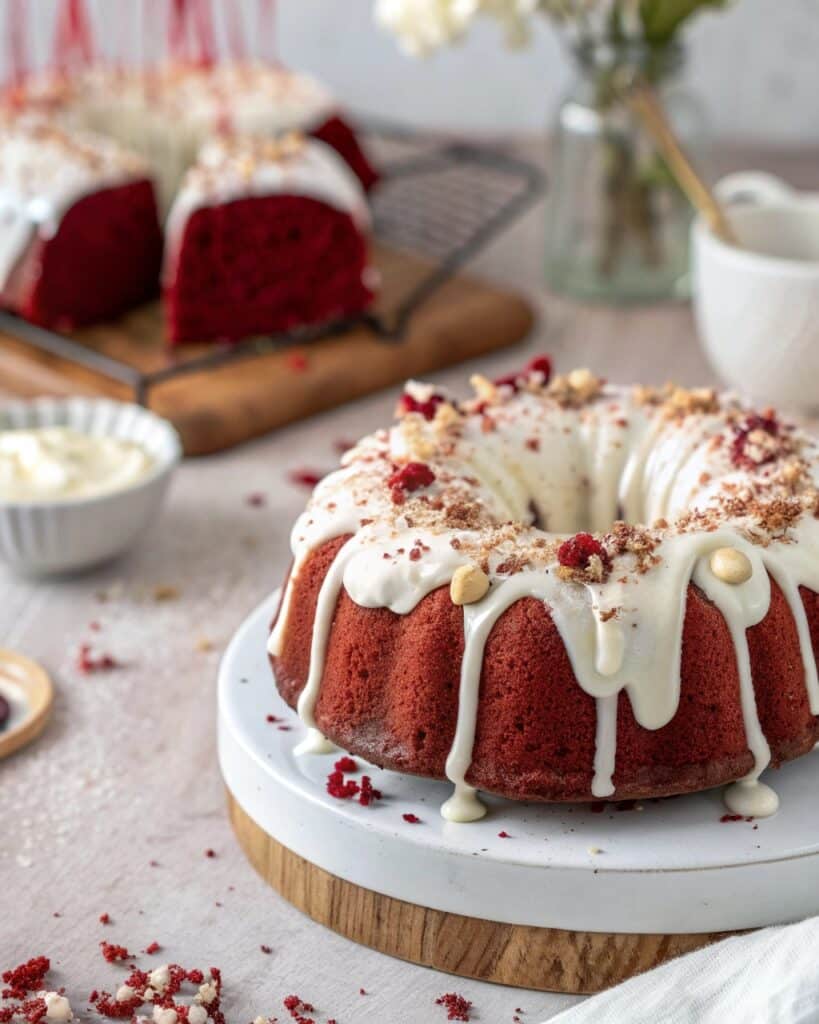
Now that your cake is baked and iced, let’s focus on serving and presentation. To make it more visually appealing, consider garnishing with fresh berries like raspberries or strawberries around the base. Alternatively, you can sprinkle edible glitter or colorful sprinkles on top of the icing to bring out the vibrant red color of the cake. A beautiful serving plate can enhance the presentation, making your cake the star of any dessert table.
When recipes come out this pretty, it’s hard to resist snapping a few pictures! Encourage your guests to capture moments with their slices of this stunning dessert. But don’t worry; they won’t be able to resist digging into it.
If you’re unsure about how long leftovers can last, remember this cake is best enjoyed fresh. If you have any leftovers, store them tightly covered in the refrigerator for up to two days, but I doubt they’ll last that long! If you really want to enjoy an extravagant dessert later on, consider freezing the cake without icing — just thaw it and add the marshmallow icing when you’re ready to serve.If you love dramatic desserts, my Red Velvet Crepe Cake is another show-stopper worth trying.

After all, this cake isn’t just a dessert; it’s an experience filled with love and joy. When you share it with friends and family, you’ll create echoes of laughter and warmth, leaving sweet memories long after the last bite is gone.
FAQs
What can I substitute for aquafaba?
You can use unsweetened applesauce or silken tofu as alternatives, but this might slightly alter the cake’s texture.
Is it necessary to use vegan butter?
While I recommend vegan butter for this recipe, you can also use coconut oil or any plant-based spread of choice.
Can I use regular flour instead of gluten-free?
Yes, if gluten is not a concern, you can substitute with all-purpose flour, but you may need to make adjustments to the ingredient amounts.
How long will the cake last?
The cake is best enjoyed within two days. Store any leftovers in the refrigerator, covered tightly.
Conclusion
You’re now equipped to create a stunning Gluten-free Vegan Red Velvet Bundt Cake with Sticky Marshmallow Icing that beautifully combines comfort and sophistication. This recipe is ideal for any occasion, reminding us that baking can be a source of joy and cherished memories. With every slice, you’re sharing a piece of your heart and the love that goes into creating something special. Get ready to embark on this delightful baking journey, and relish the taste of happiness! If you’re exploring more gluten-free and vegan bakes, don’t miss my Gluten-Free Vegan Red Velvet Cake — another delightful way to bring joy to your table.
for more vegan cake recipe follow us in Pinterest

Gluten-free Vegan Red Velvet Bundt Cake
Ingredients
Wet Ingredients
- 6 Tablespoons aquafaba ("egg whites" from garbanzo beans) Great vegan egg replacement.
- 2 teaspoons vanilla extract
- 1 cup rice milk Can substitute with other plant-based milk.
- 2 Tablespoons red food coloring Adjust to your liking.
- 2 Tablespoons white vinegar Used to help create flax eggs.
Dry Ingredients
- 1 and ½ cups gluten-free flour A blend of gluten-free all-purpose flour can be used.
- 1 and ½ cups granulated sugar You can adjust the sweetness to taste.
- 2 Tablespoons cocoa powder Sifted to avoid clumps.
- 1 and ½ teaspoons baking soda
- ½ teaspoon xanthan gum Helps in binding ingredients in gluten-free baking.
- 1 pinch salt
Icing Ingredients
- 1 and ½ cups light corn syrup To create the sticky texture.
- 1 pinch salt To enhance flavor.
Butter
- 12 Tablespoons vegan butter at room temperature Ensure it's softened for easy creaming.
Flax Eggs
- 2 Tablespoons ground flax seeds mixed with 1 Tablespoon of white vinegar and 1 teaspoon of vanilla extract Let it sit for a few minutes to thicken.
Instructions
Preparation
- Preheat your oven to 350°F (175°C).
- In a mixing bowl, combine the food coloring, vanilla extract, white vinegar, flax eggs, and rice milk. Mix well and set aside.
Mixing Dry Ingredients
- In a stand mixer, cream together the vegan butter and sugar until fluffy.
- Add the baking soda, salt, and xanthan gum, then sift in the cocoa powder.
- Alternate adding the wet mixture and dry mixture until well combined to achieve a smooth batter.
Baking
- Spray the bundt pan generously to avoid sticking, then pour the batter into it.
- Bake for 25-30 minutes or until a toothpick inserted comes out clean. Let the cake cool for 5 minutes before inverting it onto a wire rack.
Making Icing
- In the stand mixer, beat the aquafaba and salt on high until soft peaks form.
- Slowly add sugar while continuing to whisk.
- Heat the corn syrup until it boils and gradually mix it into the aquafaba while whisking on high for about five minutes until glossy.
Finishing Touches
- Pour the prepared icing over the cooled cake. Serve immediately as the icing is best fresh.
- Garnish with fresh berries or colorful sprinkles for added visual appeal.

