
Chocolate Pumpkin Whoopie Pies are the ultimate fall and chocolate lover’s dream cookie! There’s something magical about the marriage of rich cocoa and velvety pumpkin that makes each bite unforgettable. These Chocolate Pumpkin Whoopie Pies bring together the best of both worlds: pillowy-soft chocolate cakes surrounding a luscious, pumpkin-spiced cream filling. Whether you’re searching for a festive, kid-friendly treat or a show-stopping party dessert, this recipe delivers big flavor with surprisingly simple steps. You’ll love that Chocolate Pumpkin Whoopie Pies can be whipped up in under an hour, making them perfect for weeknight baking or weekend baking sprees alike!
What sets these Chocolate Pumpkin Whoopie Pies apart? The texture – think tender, brownie-like cookies with an irresistible spiced filling. They’re perfect for potlucks, lunchboxes, or cozy nights with coffee. Don’t worry if you’re a baking beginner; this recipe breaks down each step so you’ll be a whoopie pie pro in no time. Trust me, once you try these Chocolate Pumpkin Whoopie Pies, you’ll crave them all season long!
🍽️ Recipe At A Glance
- Prep Time: 25 minutes
- Cook Time: 14 minutes
- Difficulty: Easy
- Servings: 10 whoopie pies
- Why This Recipe Works
- Ingredients You’ll Need
- Step-by-Step Cooking Instructions
- Recipe Variations & Dietary Modifications
- Serving Suggestions & Pairings
- Storage & Meal Prep Tips
- Nutritional Information
- Conclusion
- FAQ Section
Why This Recipe Works
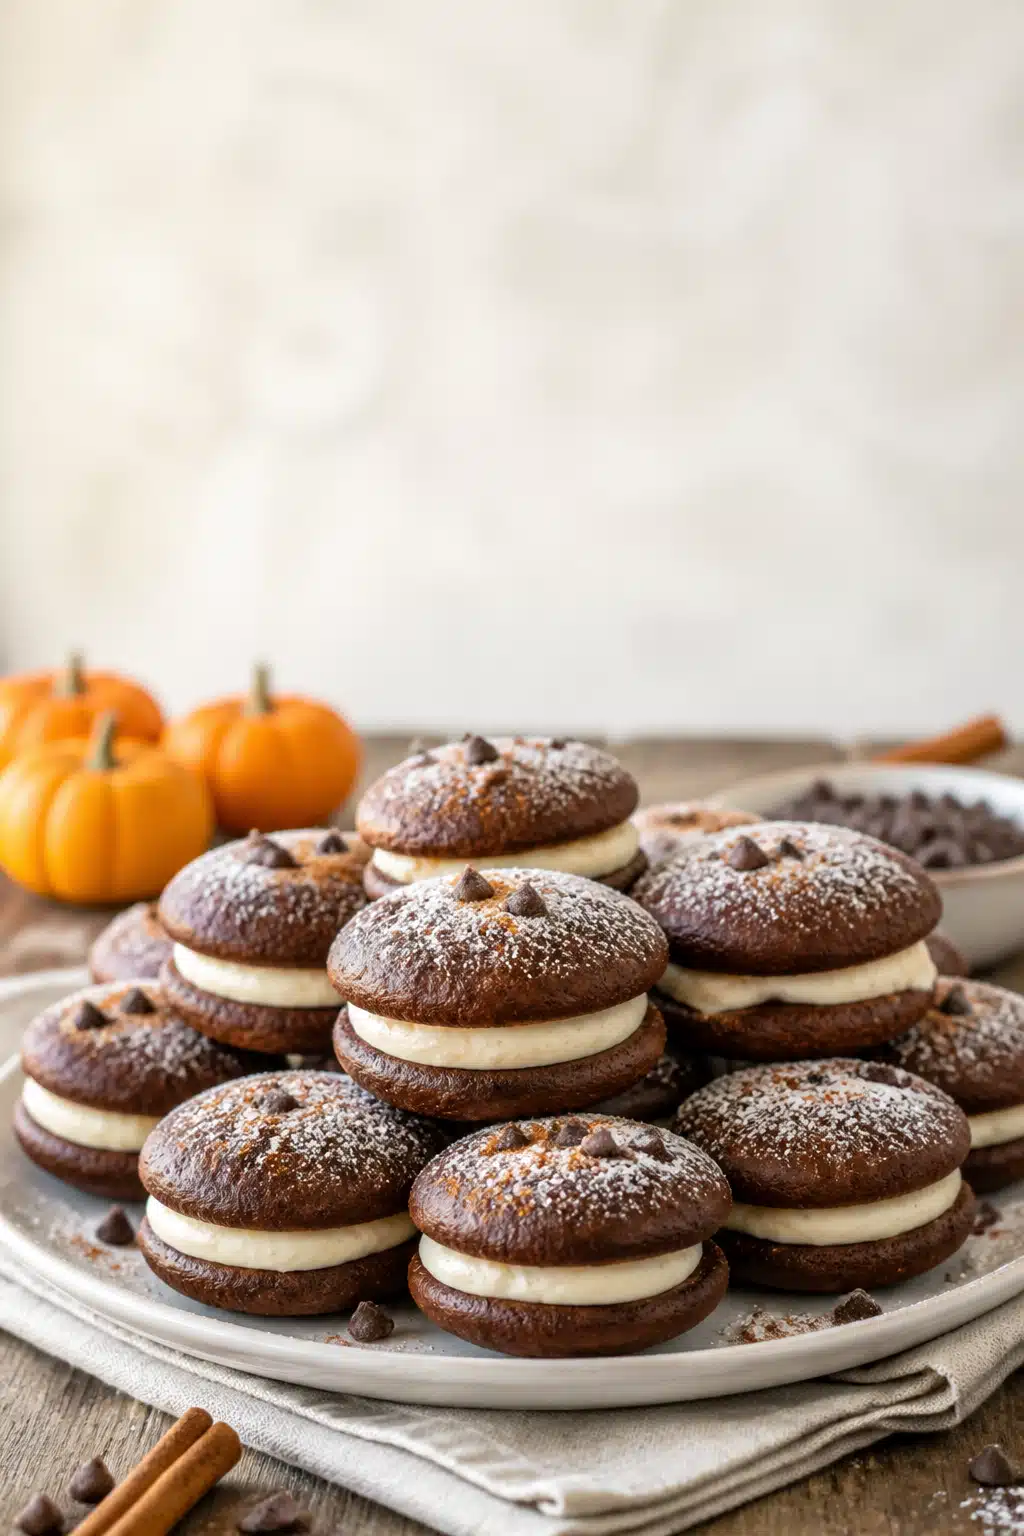
Chocolate Pumpkin Whoopie Pies aren’t just eye-catching—they’re an indulgent symphony of textures and flavors! The bittersweet depth of rich cocoa powder balances the sweet earthiness of pumpkin, while autumn spices create a warming finish in every bite. The cake-like “cookies” are soft and moist, never dry or crumbly, while the tangy, spiced cream cheese filling adds a creamy contrast that melts in your mouth.
What makes this recipe extra special is its fuss-free method: no fancy equipment, no dough chilling, and super-flexible ingredients. The pumpkin purée ensures each pie stays moist for days, and the rich chocolate makes them a hit with kids, teens, and grownups alike. If you’re new to whoopie pies, this is the perfect introduction—the batter is forgiving, and assembly is a breeze!
Plus, these Chocolate Pumpkin Whoopie Pies store beautifully, making them an excellent make-ahead dessert for holidays or parties. They’re ideal for Halloween, Friendsgiving, or just celebrating sweater weather on a cozy night in.
Ingredients You’ll Need
- For the Chocolate Cakes:
- 1 cup (130g) all-purpose flour
- 1/2 cup (48g) unsweetened cocoa powder (Dutch-processed preferred for deeper flavor)
- 3/4 teaspoon baking soda
- 1/2 teaspoon baking powder
- 1/2 teaspoon fine sea salt
- 1 teaspoon ground cinnamon
- 1/4 teaspoon ground cloves (optional for extra spice)
- 1/2 cup (110g) packed light brown sugar
- 1/2 cup (100g) granulated sugar
- 1/2 cup (120ml) neutral oil (such as canola or vegetable)
- 1 cup (240g) pumpkin purée (not pumpkin pie filling)
- 2 large eggs, room temperature
- 1 teaspoon vanilla extract
- 1/4 cup (60ml) buttermilk (or whole milk + 1 teaspoon apple cider vinegar as sub)
- For the Pumpkin Cream Cheese Filling:
- 6 ounces (170g) cream cheese, softened
- 4 tablespoons (56g) unsalted butter, softened
- 2/3 cup (80g) powdered sugar, sifted
- 1/4 cup (60g) pumpkin purée
- 1/2 teaspoon vanilla extract
- 1/2 teaspoon ground cinnamon
- 1/8 teaspoon ground nutmeg
- Pinch of fine sea salt
Step-by-Step Cooking Instructions
-
- Prep your oven and pans. Preheat oven to 350°F (175°C). Line two baking sheets with parchment paper to prevent sticking and create that beautiful pie shape.
- Mix dry ingredients. In a large bowl, whisk together flour, cocoa powder, baking soda, baking powder, salt, cinnamon, and cloves.
- Combine wet ingredients. In a separate bowl, whisk brown sugar, granulated sugar, oil, pumpkin purée, eggs, and vanilla extract until smooth and glossy.
- Add buttermilk & combine. Whisk in buttermilk to the wet ingredients.
- Make the batter by pouring the wet ingredients into the dry. Gently fold together with a spatula until just combined. Do not overmix; a few streaks are okay!
- Portion the cakes. Using a medium cookie scoop or 2 heaping tablespoons per pie, drop batter spaced 2 inches apart onto prepared sheets. Smooth tops if needed.
- Bake. Bake for 13-15 minutes, rotating pans halfway, until cakes spring back when gently pressed and edges no longer look wet. Cool on pans 5 minutes, then transfer to a rack to cool completely.
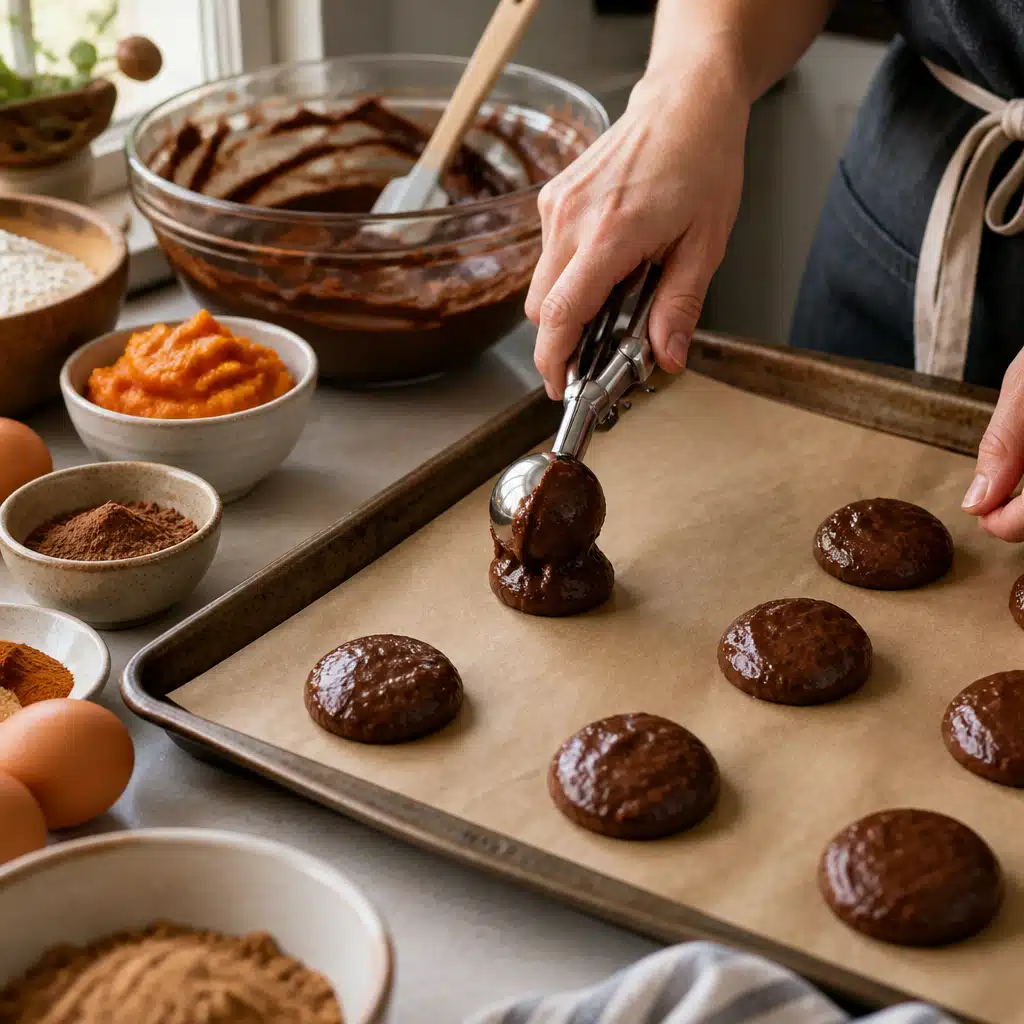
- Make the filling. In a medium bowl, beat cream cheese and butter together until smooth and fluffy (about 2 minutes). Add powdered sugar, pumpkin purée, vanilla, cinnamon, nutmeg, and salt. Beat until creamy and well combined. Optionally, use a Pumpkin Cream Cheese Filling piping bag for neat sandwiching.
- Assemble the whoopie pies. Spread or pipe a generous layer of pumpkin cream cheese filling onto the flat side of half the cakes. Top with remaining cakes, pressing gently to sandwich.
- Serve and enjoy! If you like, chill assembled Chocolate Pumpkin Whoopie Pies for 20-30 minutes for cleaner edges and a firmer bite—they taste incredible cold or at room temperature.
Recipe Variations & Dietary Modifications
- Keto/Low-Carb Version: Swap all-purpose flour for finely-milled almond flour (1 cup), replace sugars with your favorite granulated erythritol sweetener, and use keto-friendly chocolate. Adjust baking time down by 2-3 minutes and chill the batter before scooping for best texture.
- Vegan/Vegetarian Version: Use non-dairy cream cheese and plant-based butter for the filling; substitute eggs with two flax eggs (2 tablespoons flaxseed meal plus 6 tablespoons water). Choose a neutral oil and a dairy-free buttermilk (1/4 cup oat milk + 1 tsp apple cider vinegar).
- Gluten-Free Version: Simply use a certified 1:1 gluten-free baking flour for the cake portion. Double check your baking powder and powdered sugar are gluten-free (many are)!
- Spicy/Mild Version: Add a pinch of cayenne to the dry mix for subtle warmth, or leave out the cloves and nutmeg for a milder flavor. You can even create a Chai-inspired version by adding ground cardamom and ginger.
These swaps are simple to try and require minimal changes in bake time or technique, so don’t hesitate to customize your Chocolate Pumpkin Whoopie Pies for any dietary need!
Serving Suggestions & Pairings
Present your Chocolate Pumpkin Whoopie Pies on a wooden platter or rustic cake stand for that irresistible, bakery-style look. For an extra flourish, dust the tops lightly with powdered sugar or drizzle with melted chocolate before serving. These decadent treats pair perfectly with a steaming mug of chai tea, hot cocoa, or dark roast coffee for a cozy snack.
For parties or dessert platters, include a variety of seasonal favorites like Easy Chocolate Brownies, Classic Pumpkin Bread, and Chewy Ginger Molasses Cookies for a true fall dessert board. Kids love them tucked in lunchboxes, and they make a festive after-school treat. Chocolate Pumpkin Whoopie Pies also shine with a dollop of extra pumpkin filling and a sprinkle of cinnamon on the side.
For a grown-up pairing, try serving Chocolate Pumpkin Whoopie Pies with a cold glass of milk stout or robust port wine to highlight the chocolate notes.
Storage & Meal Prep Tips
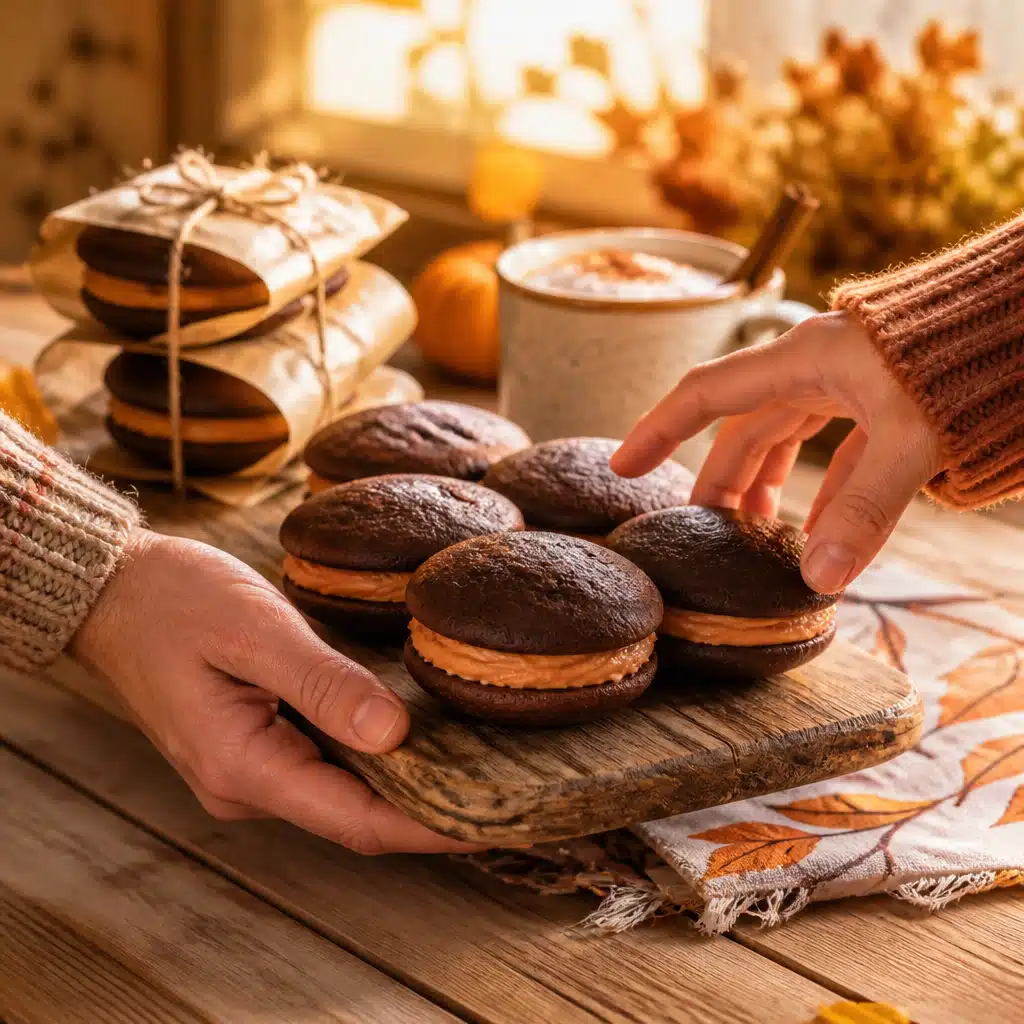
These Chocolate Pumpkin Whoopie Pies keep best refrigerated in an airtight container. The cream cheese filling means you’ll want to store them chilled; they stay moist and delicious for up to 5 days.
To freeze, wrap individual pies tightly in plastic wrap and store in a freezer-safe zip bag. Thaw overnight in the fridge or on the counter for a fall dessert anytime! If you like your Chocolate Pumpkin Whoopie Pies with a denser filling, enjoy them straight from the refrigerator.
For meal prep, bake the cakes in advance, cool completely, and store separated by parchment. Make the filling and assemble right before serving for the freshest texture. The filled pies travel well for potlucks and picnics, too.
Nutritional Information
Nutrition Facts (per serving):
Calories: 319 kcal | Protein: 5g | Carbs: 45g | Fat: 14g | Fiber: 3g
For more details on cocoa nutritional content, see this resource or learn about the nutritional value of pumpkin here.
Chocolate Pumpkin Whoopie Pies: Delicious 30-Minute Recipe That Kids Love
Ingredients
For the Chocolate Cakes
- 1 cup all-purpose flour 130g
- ½ cup unsweetened cocoa powder 48g; Dutch-processed preferred for deeper flavor
- ¾ teaspoon baking soda
- ½ teaspoon baking powder
- ½ teaspoon fine sea salt
- 1 teaspoon ground cinnamon
- ¼ teaspoon ground cloves optional for extra spice
- ½ cup packed light brown sugar 110g
- ½ cup granulated sugar 100g
- ½ cup neutral oil 120ml; such as canola or vegetable
- 1 cup pumpkin purée 240g; not pumpkin pie filling
- 2 large eggs room temperature
- 1 teaspoon vanilla extract
- ¼ cup buttermilk 60ml; or whole milk + 1 teaspoon apple cider vinegar as sub
For the Pumpkin Cream Cheese Filling
- 6 ounces cream cheese 170g; softened
- 4 tablespoons unsalted butter 56g; softened
- ⅔ cup powdered sugar 80g; sifted
- ¼ cup pumpkin purée 60g
- ½ teaspoon vanilla extract
- ½ teaspoon ground cinnamon
- ⅛ teaspoon ground nutmeg
- Pinch fine sea salt
Instructions
Step-by-Step Cooking Instructions
- Preheat oven to 350°F (175°C). Line two baking sheets with parchment paper to prevent sticking and create that beautiful pie shape.
- In a large bowl, whisk together flour, cocoa powder, baking soda, baking powder, salt, cinnamon, and cloves.
- In a separate bowl, whisk brown sugar, granulated sugar, oil, pumpkin purée, eggs, and vanilla extract until smooth and glossy.
- Whisk in buttermilk to the wet ingredients.
- Pour the wet ingredients into the dry. Gently fold together with a spatula until just combined. Do not overmix; a few streaks are okay.
- Using a medium cookie scoop or 2 heaping tablespoons per pie, drop batter spaced 2 inches apart onto prepared sheets. Smooth tops if needed.
- Bake for 13-15 minutes, rotating pans halfway, until cakes spring back when gently pressed and edges no longer look wet. Cool on pans 5 minutes, then transfer to a rack to cool completely.
- In a medium bowl, beat cream cheese and butter together until smooth and fluffy (about 2 minutes). Add powdered sugar, pumpkin purée, vanilla, cinnamon, nutmeg, and salt. Beat until creamy and well combined. Optionally, use a piping bag for neat sandwiching.
- Spread or pipe a generous layer of pumpkin cream cheese filling onto the flat side of half the cakes. Top with remaining cakes, pressing gently to sandwich.
- If you like, chill assembled Chocolate Pumpkin Whoopie Pies for 20-30 minutes for cleaner edges and a firmer bite—they taste incredible cold or at room temperature.
Notes
Conclusion
If you’re ready to take your fall baking to the next level, Chocolate Pumpkin Whoopie Pies are the answer! With their rich, chocolatey cakes and dreamy pumpkin-spice filling, these bite-sized treats make every occasion feel like a celebration. The beauty of Chocolate Pumpkin Whoopie Pies is just how easy and mess-free they are to make, even with little helpers in the kitchen.
Once you taste Chocolate Pumpkin Whoopie Pies, you’ll see why they’re a fan-favorite—perfect for sharing at parties, gifting to friends, or treating yourself on a cozy night in. Don’t forget to share your beautiful results—tag @easychocolatecake or leave a comment below with your Chocolate Pumpkin Whoopie Pies creations. Happy baking, sweet friend!
FAQ Section
Can I make Chocolate Pumpkin Whoopie Pies ahead of time?
Absolutely! Chocolate Pumpkin Whoopie Pies can be made a day or two ahead and stored in an airtight container in the fridge. For the freshest texture, assemble the pies the day you plan to serve.
How do I keep Chocolate Pumpkin Whoopie Pies from getting soggy?
If you’re prepping in advance, store the cakes and the filling separately and assemble right before serving. Placing parchment paper between stacked pies also helps keep them fresh and prevents sticking.
Can I freeze Chocolate Pumpkin Whoopie Pies?
Yes! Chocolate Pumpkin Whoopie Pies freeze beautifully. Wrap each pie in plastic wrap, then store in a freezer bag for up to 2 months. Thaw in the fridge before enjoying.
What can I substitute for pumpkin purée in Chocolate Pumpkin Whoopie Pies?
If you’re out of pumpkin, try using butternut squash purée or sweet potato purée in Chocolate Pumpkin Whoopie Pies for a slightly different but equally delicious result.
Do Chocolate Pumpkin Whoopie Pies need to be refrigerated?
Yes, because of the cream cheese filling, Chocolate Pumpkin Whoopie Pies should be kept refrigerated. Let them sit out for a few minutes before serving for a softer texture.
Can I double the Chocolate Pumpkin Whoopie Pies recipe?
Absolutely! The recipe doubles well for parties and bake sales. Just use extra baking sheets and rotate halfway for even baking.