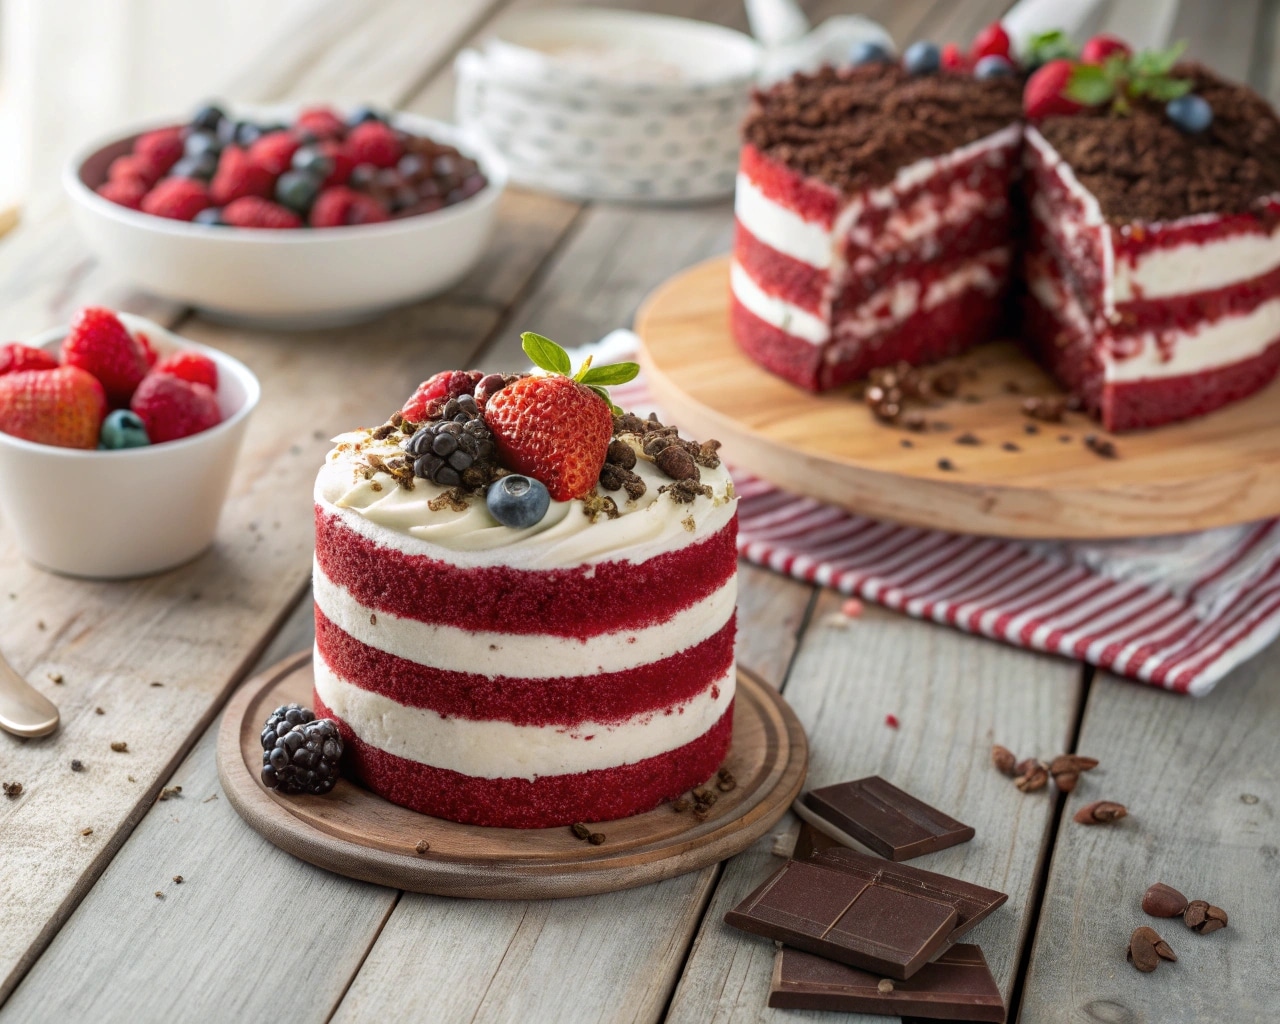
Rich and velvety, Red Velvet Layer Cake has been a cherished dessert in my household for years. Growing up, it was a staple during celebrations, each slice a reminder of the love and care poured into every creation. The vibrant red hue, contrasted by the creamy richness of cream cheese frosting, created a sense of magic that drew everyone in. The kitchen, with its familiar smells and laughter, became a nurturing space where I learned to embrace both tradition and creativity. I’m so excited to share this recipe with you, hoping it helps you create those memorable moments with loved ones.
The Story of Red Velvet Layer Cake
Red Velvet Layer Cake isn’t just a dessert; it’s a story woven into my family’s fabric, echoing memories of joyous gatherings and heartfelt celebrations. I still remember the first time I watched my mom whip up this decadent cake, her smile illuminating the room as the vibrant red batter came to life. It was a simple recipe, yet it seemed to possess a kind of magic, transforming ordinary days into cherished memories.
As I immersed myself in the world of baking, Red Velvet Layer Cake became my signature dish – a crossroads of comfort and innovation. Whether it was a birthday, a holiday, or just a random Tuesday, I found joy in taking the time to create something beautiful. While I learned countless baking techniques, the essence of this cake remained simple: a blend of flavors and a splash of love, crucial ingredients that always delighted my family.
With each bite, you can taste the passion and history that accompany this cake. It carries with it a heartwarming reminder that great food, much like the best stories, brings us together. Today, I’m thrilled to share my take on this timeless dessert, a recipe that supports cooks of every level eager to create memorable moments in their kitchens. You can find other delightful desserts on my blog, particularly ones that echo this theme of warmth and creativity.
Ingredients for Red Velvet Layer Cake
To whip up this classic treat, you’ll need an assortment of ingredients that blend beautifully together:
- Dry Ingredients: 2 cups all-purpose flour, 2 cups granulated sugar, 2 tsp unsweetened cocoa powder, 1 tsp fine salt, 1 tsp baking soda, 1/2 tsp baking powder.
- Wet Ingredients: 1 cup vegetable or canola oil, 1 cup buttermilk (room temperature), 2 large room temperature eggs, 2 tsp vanilla extract, 1 tsp white vinegar, and 1 tsp red gel food coloring.
For the frosting, prepare to indulge with:
- Frosting Base: 1 1/2 cups unsalted butter (room temperature), 1/2 cup full-fat cream cheese (room temperature), 1 Tbsp vanilla extract, and 1 tsp fine salt.
- Sweetness: 7 cups powdered sugar and 1 Tbsp heavy whipping cream.
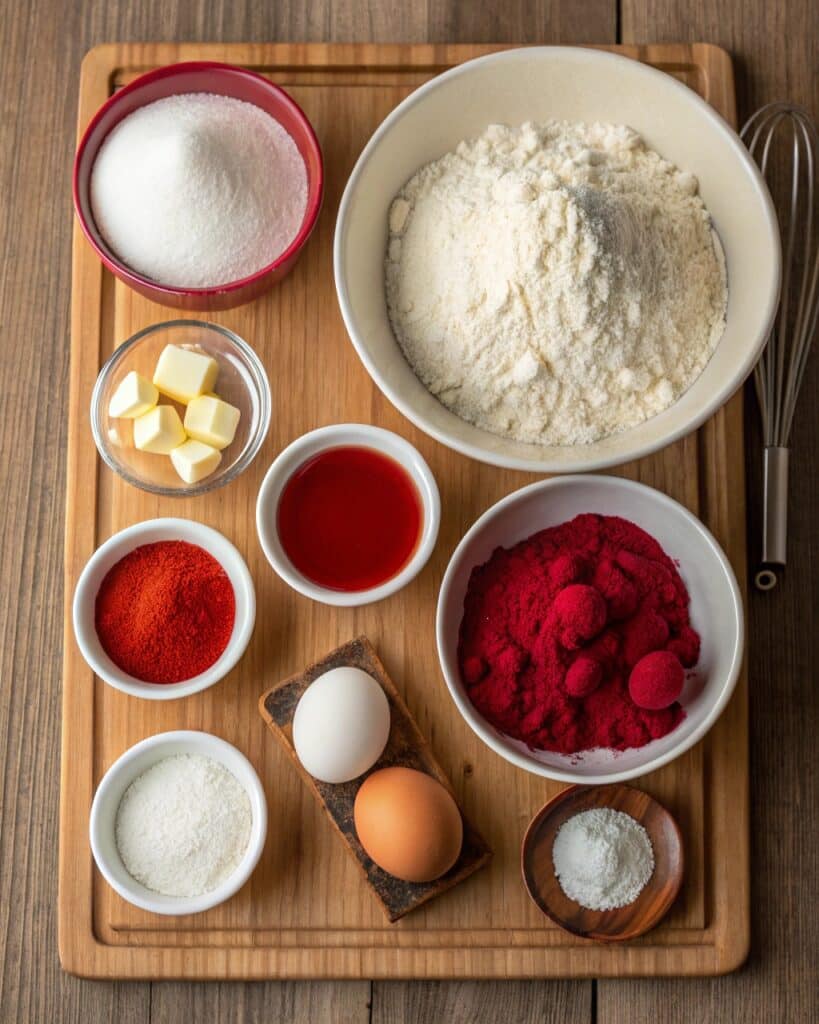
When you gather these ingredients, prepare for a feast of flavors. This cake’s red hue primarily stems from the unique interaction between the cocoa and the acidity of the buttermilk combined with vinegar. The oil moistens, while buttermilk adds a tender crumb. In my experience, quality ingredients yield the best results, so always opt for fresh, high-quality items.
You can find helpful tips on ingredient substitutions on my blog, which can enhance your baking experience. While you’re at it, check out my guide for homemade buttermilk for a twist that makes this cake even richer.
Crafting Your Red Velvet Cake with Cream Cheese Buttercream
Red Velvet Cake is often talked about for its unique taste and texture, accentuated by the delightful cream cheese frosting. To begin, preheat your oven to 350°F (175°C) and prepare your baking pans by greasing and lining them with parchment paper.
- Mixing the Ingredients: In a large bowl, blend the oil and sugar, followed by the buttermilk, eggs, and vanilla extract. Next, slowly combine the dry ingredients, mixing until just incorporated. Don’t forget the red gel food coloring, which gives your cake its vibrant hue!
- Baking: Divide the batter evenly between your prepared pans, and bake for approximately 25-30 minutes, or until a toothpick inserted into the center comes out clean.
- Cooling: Remove the cakes from the oven and let them sit for about 10 minutes before carefully transferring them to wire racks to cool completely.
Once your cakes are cool, it’s time to tackle that irresistible frosting. For the cream cheese buttercream, beat together your softened butter and cream cheese until light and fluffy. Gradually add powdered sugar until you achieve that perfect sweet and spreadable consistency.
If you delve into my blog, you’ll also find tips on how to achieve the ideal frosting texture and flavor balance, ensuring every bite meets your expectations.
Assembling and Serving Your Red Velvet Layer Cake
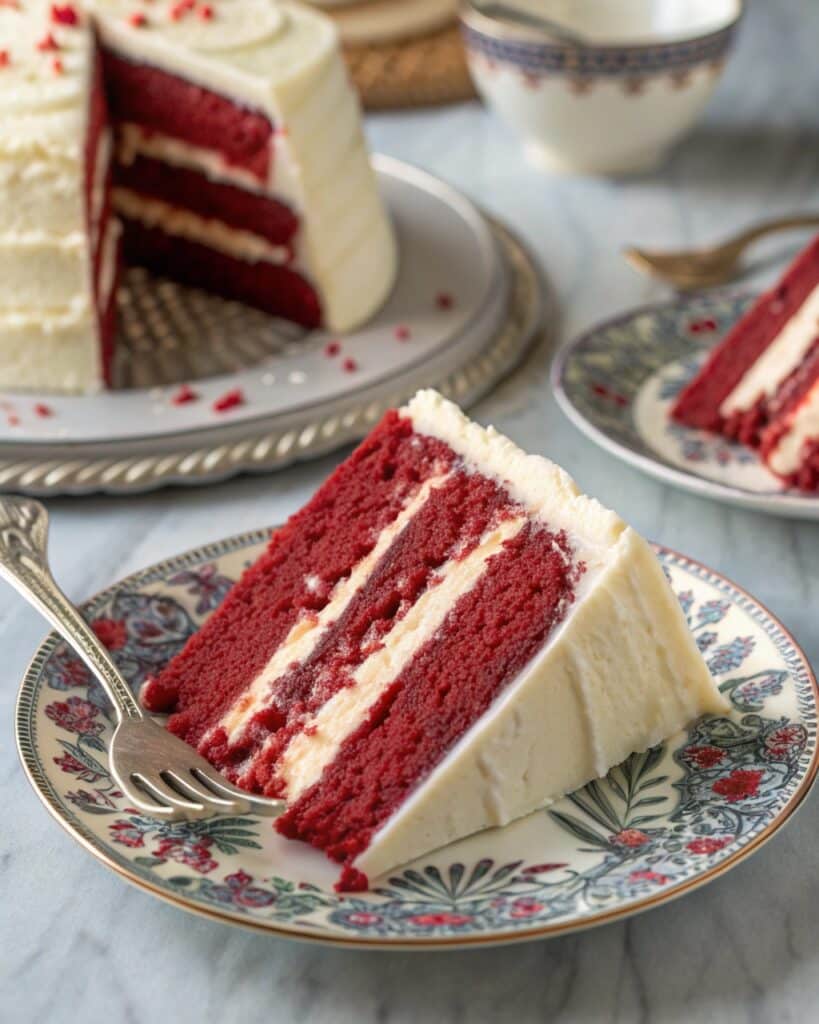
Finally, it’s time for the grand assembly! Take your first cooled cake layer and place it on a serving plate. Generously spread some cream cheese frosting across the top before adding the second layer. Once stacked, cover the top and sides of the cake with the remaining frosting.
For an added touch, consider garnishing with chocolate shavings or fresh berries for style and flavor contrast.
As you serve this delightful cake, remember that it’s not just about taste; it’s a celebration of culinary creativity and personal heritage. Invite friends over, enjoy a slice, and share the stories behind your baking adventures.
In conclusion, Red Velvet Layer Cake is more than just a dessert; it’s a tapestry of memories and flavors that can transform any gathering into something special. Whether you’re an experienced baker or a novice in the kitchen, I hope this inspired you to create your version and maybe even craft new memories around your table.
FAQ Section
What does Red Velvet Cake taste like?
Red Velvet Cake has a subtle chocolate flavor with a hint of tanginess from the buttermilk, complemented by the rich cream cheese frosting.
Can I use regular milk instead of buttermilk?
Yes, you can make buttermilk at home by adding a tablespoon of white vinegar or lemon juice to regular milk and letting it sit for 5-10 minutes.
How do I store Red Velvet Cake?
Store the cake covered in the refrigerator for up to 5 days for the best freshness.
Can I make this cake ahead of time?
Absolutely! You can bake the cake layers in advance and freeze them. Just allow them to defrost before frosting and serving.
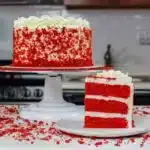
Red Velvet Layer Cake
Ingredients
Dry Ingredients
- 2 cups all-purpose flour
- 2 cups granulated sugar
- 2 tsp unsweetened cocoa powder
- 1 tsp fine salt
- 1 tsp baking soda
- ½ tsp baking powder
Wet Ingredients
- 1 cup vegetable or canola oil
- 1 cup buttermilk (room temperature) Can substitute with homemade buttermilk.
- 2 large room temperature eggs
- 2 tsp vanilla extract
- 1 tsp white vinegar
- 1 tsp red gel food coloring Gives the cake its vibrant hue.
Frosting Ingredients
- 1 ½ cups unsalted butter (room temperature)
- ½ cup full-fat cream cheese (room temperature)
- 1 Tbsp vanilla extract
- 1 tsp fine salt
- 7 cups powdered sugar
- 1 Tbsp heavy whipping cream
Instructions
Preparation
- Preheat your oven to 350°F (175°C) and prepare your baking pans by greasing and lining them with parchment paper.
- In a large bowl, mix the oil and granulated sugar, followed by adding the buttermilk, eggs, and vanilla extract.
- Combine the dry ingredients slowly, mixing until just incorporated, then add the red gel food coloring.
Baking
- Divide the batter evenly between the prepared pans and bake for approximately 25-30 minutes, or until a toothpick inserted into the center comes out clean.
- Remove the cakes from the oven and allow them to cool in the pans for about 10 minutes before transferring them to wire racks to cool completely.
Frosting
- For the cream cheese buttercream, beat together the softened unsalted butter and cream cheese until light and fluffy.
- Gradually add powdered sugar until you achieve the desired sweet and spreadable consistency.
Assembly
- Place the first cooled cake layer on a serving plate and generously spread cream cheese frosting across the top before adding the second layer.
- Cover the top and sides of the cake with the remaining frosting, and consider garnishing with chocolate shavings or fresh berries.
