There’s something special about cake pops that gets me every time. Maybe it’s the fun, bite-sized nature or the vibrant color that instantly lifts your spirits. I remember the first time I made red velvet cake pops; it was for my niece’s birthday party. The kitchen was filled with laughter as we rolled the red velvet cake mixture into balls and dipped them in chocolate. The joy on her face when she took the first bite made all the mess worthwhile. In this article, I’ll guide you through making these delightful treats, capturing the essence of love and creativity that I’ve cherished in my kitchen. Whether you’re planning a celebration or just a sweet treat for yourself, these red velvet cake pops are sure to impress.
Understanding the Magic of Red Velvet Cake Pops
Red velvet cake pops stand out not just for their looks but for their delightful flavor. The combination of the rich cocoa, vibrant red color, and silky cream cheese frosting turns this dessert into a visual and taste sensation. Preparing these cake pops connects us to our loved ones and brings us closer through shared delicious moments. They embody comfort while adding a creative twist to a classic favorite.
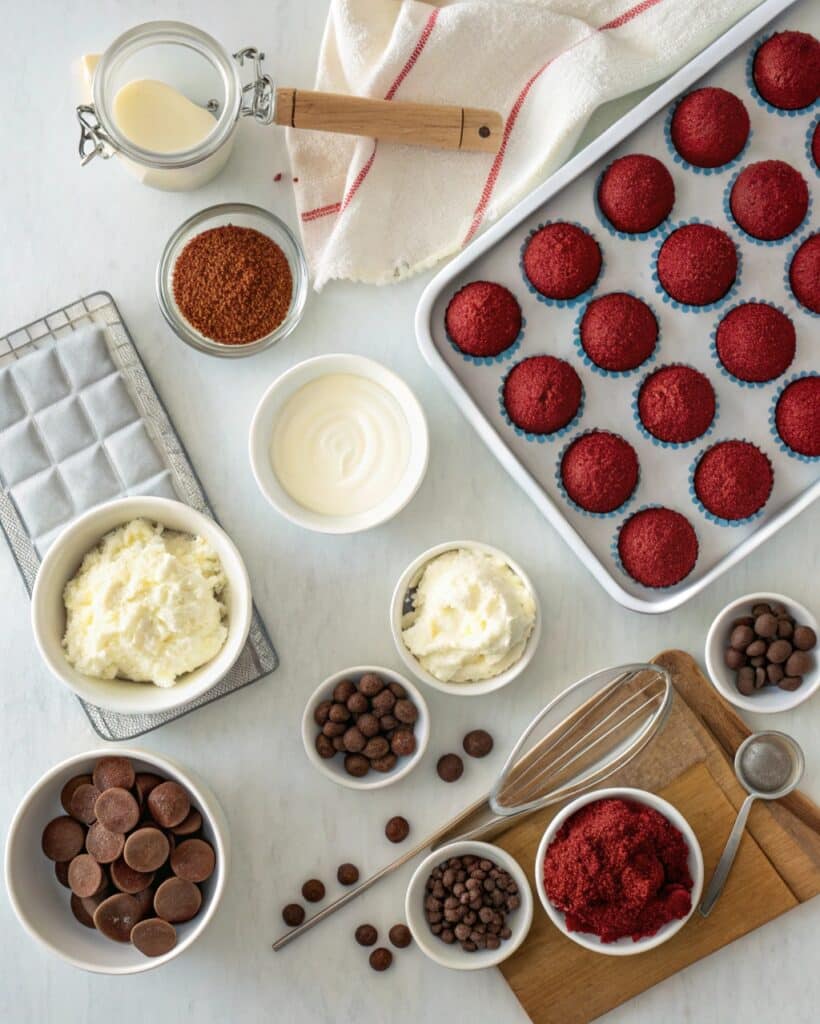
When you begin this baking adventure, make sure to gather all your ingredients, including a box of red velvet cake mix, cream cheese frosting, and chocolate bark. These simple components allow you to craft a dessert that feels luxurious without the complexity. Red velvet cake pops are a fantastic way to recreate that loving kitchen atmosphere, whether you’re a seasoned baker or just starting.
Incorporating the key aspects of red velvet cake pops into your baking routine not only enhances your cooking skills but also enriches your life. As you embark on this culinary journey, remember that it’s not just about the end product; it’s about the experiences and memories created along the way. To make your cake pops shine, explore different variations and adapt the recipe to your taste. Add sprinkles, use flavored chocolate, or even switch up the cake mix. The world of red velvet cake pops is your oyster.
Gather Your Ingredients
To make the perfect red velvet cake pops, you’ll need:
- 1 box red velvet cake mix (bake it using the package instructions for a 9×13-inch cake)
- 1 (16-ounce) can cream cheese frosting
- 1 package chocolate bark (you can use regular or white chocolate—or both)
- 40 cake pop sticks
- Sprinkles (if desired)
- Wax paper
- Foam block (optional, for cooling and setting)

These ingredients combine to create cake pops that are not only visually stunning but also memorable in taste. You’ll start by baking the cake mix according to the instructions, ensuring that it’s fluffy and moist. After baking, let it cool completely before moving on to the next step. Cooling is crucial; if you try to roll the warm cake into balls, they won’t hold their shape, leading to a messy result.
Once baked and cooled, crumble the cake into a mixing bowl. The resulting crumbs should have a fine texture; this step is essential for forming perfect cake balls. Gently fold in half of the cream cheese frosting, which will bind the crumbs together. If you find the mixture too dry, you can add more frosting gradually until you reach a dough-like consistency.
To prepare for dipping, visualize the setup you’ll need. Arrange a foam block on your counter or table to keep your cake pops upright while they set. This will create a neat presentation and stability for the pops once dipped in chocolate.
Make the Cake Balls and Pop Assembly
Now that you’ve prepared your cake mixture, it’s time to form those delectable cake balls. Start by taking small portions of the mixture and rolling them into smooth balls, about 1 to 1.5 inches in diameter. Ensure the surface is smooth and even, as this will contribute to a beautiful finish once dipped in chocolate.
After rolling all the balls, place them on a wax paper-lined tray and refrigerate them for about 30 minutes. Chilling will ensure the cake balls hold their shape while you apply the chocolate coating. Meanwhile, melt the chocolate bark according to the package instructions. If you’re using two types of chocolate, you can use one bowl for regular and another for white chocolate, creating a delightful contrast.
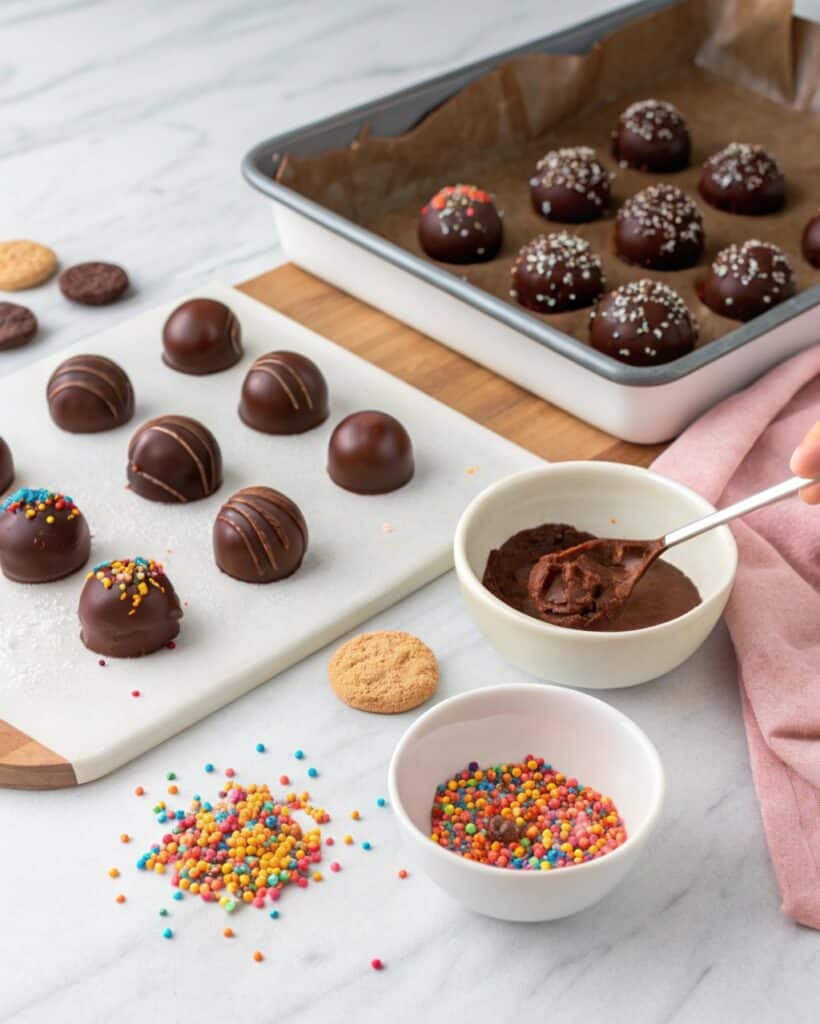
Once the cake balls are chilled, take each one and dip it into the melted chocolate, ensuring it’s fully covered. After coating, pull the pop out and gently tap it against the bowl’s side to remove excess chocolate. Immediately insert a cake pop stick into the center of each ball, placing them upright in the foam block to set. Before the chocolate hardens, you can add sprinkles on top for that extra festive touch.

Let the cake pops sit until the chocolate has set completely. This is where patience pays off; the waiting period will result in a much more enjoyable final product.
Adding Final Touches and Serving Ideas
With your red velvet cake pops set, it’s time to think about presentation. You can arrange them on a decorative cake stand or serve them individually on a platter. If you’re hosting a party, these pops can become a delightful centerpiece, attracting everyone’s attention. Additionally, you might want to package some pops as gifts; simply wrap them in clear bags and tie with a ribbon for a personal touch.
Don’t be afraid to experiment with flavors and decorations. Consider drizzling melted chocolate over the dipped pops for a professional look. If you have leftovers or variations, store the pops in an airtight container in the refrigerator for up to a week. They can also be frozen for extended enjoyment—just make sure they are tightly wrapped.
For a fun twist, try combining red velvet cake pops with other flavors or themes. Think chocolate-covered strawberries or seasonal sprinkles for holidays. These small details elevate your baking and create unique experiences every time you make them.

FAQ Section
Can I use homemade red velvet cake for cake pops?
Absolutely! Homemade red velvet cake works perfectly for cake pops. Just ensure it’s moist for the best results.
What can I substitute for cream cheese frosting?
You can use chocolate icing or buttercream if you prefer a different frosting flavor.
How do I store leftover cake pops?
Store them in an airtight container in the refrigerator for up to a week or freeze them for longer storage.
Can I make cake pops in advance?
Yes! Cake pops can be made a few days before an event. Just store them properly until you’re ready to serve.
Conclusion
Red velvet cake pops are a delightful treat that can brighten up any occasion. Their rich flavor and fun presentation make them the perfect way to celebrate life’s little moments. With simple ingredients and a few easy steps, you can create a dessert that not only tastes amazing but also brings joy to those you love. So gather your friends and family, roll up your sleeves, and embark on this sweet adventure. Remember, cooking is all about having fun, creating memories, and sharing love through food.

Red Velvet Cake Pops
Ingredients
For the Cake Pops
- 1 box red velvet cake mix Bake using the package instructions for a 9x13-inch cake
- 1 can (16 ounces) cream cheese frosting For binding the cake crumbs
- 1 package chocolate bark Use regular or white chocolate—or both
- 40 sticks cake pop sticks For assembling cake pops
- as desired sprinkles For decoration
- as needed wax paper For lining trays
- 1 block foam block Optional for cooling and setting
Instructions
Preparation
- Bake the red velvet cake mix according to the package instructions and let it cool completely.
- Crumble the cooled cake into a mixing bowl until you achieve a fine texture.
- Gently fold in half of the cream cheese frosting, adding more if the mixture is too dry, until it reaches a dough-like consistency.
- Roll small portions of the mixture into smooth balls about 1 to 1.5 inches in diameter.
- Place the formed cake balls on a wax paper-lined tray and refrigerate for about 30 minutes.
Dipping and Assembly
- Melt the chocolate bark according to package instructions.
- Dip each chilled cake ball into the melted chocolate, ensuring it's fully coated.
- Gently tap each coated pop against the bowl's side to remove excess chocolate.
- Immediately insert a cake pop stick into the center of each ball and place them upright in the foam block to set.
- Add sprinkles on top before the chocolate hardens if desired.
Final Touches
- Allow the cake pops to sit until the chocolate has set completely.
- Arrange pops on a cake stand or platter for serving, or package them as gifts.
- Store leftovers in an airtight container in the refrigerator for up to a week or freeze for longer storage.

