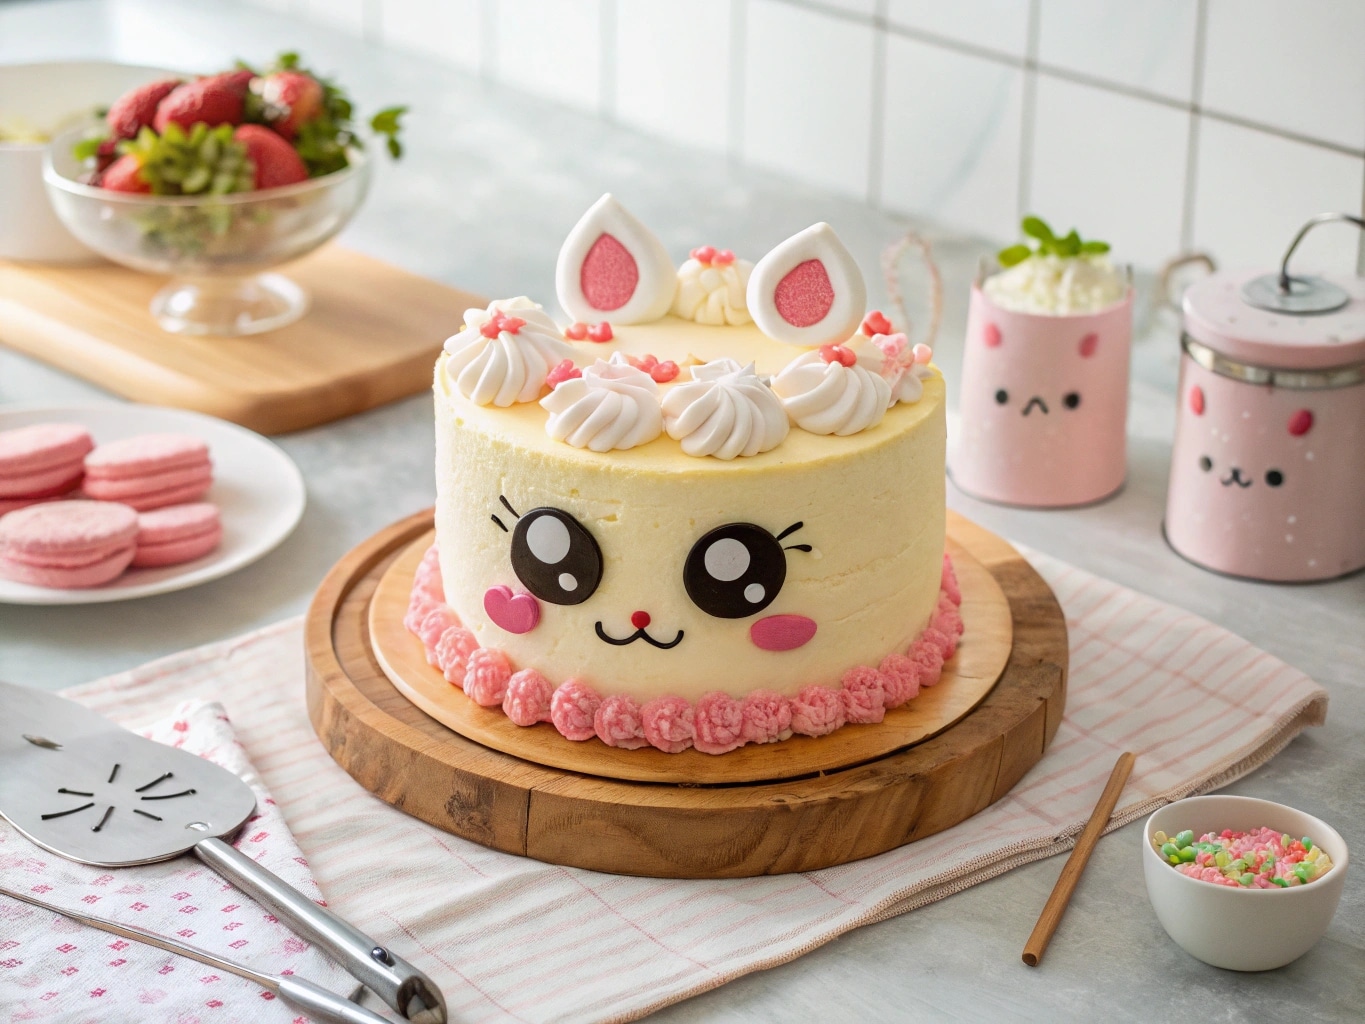
If you’ve ever wondered how to make Labubu cake, you’re in the right place. In this tutorial, we’re diving deep into the sweet, smile-inducing world of Labubu—the wildly loved character from The Monsters series—now transformed into cake form. Whether you’re planning a birthday surprise or tackling your first kawaii cake decoration, this guide will walk you through every step. We’ll talk cake design, templates, ingredients, and tips to make Labubu come alive—without fancy tools. Let’s start with why this cake stole my heart in the first place.
Labubu Cake
Equipment
Ingredients
- 2 cups all-purpose flour
- 1 cup unsweetened cocoa powder
- 1.5 cups buttermilk
- 1 cup unsalted butter
- 1 tsp baking soda
- 1 tsp baking powder
- 4 large eggs
- 1 tbsp vanilla extract
- Fondant (white, black, red, pink)
- Buttercream (chocolate)
- Gel food coloring (optional)
Instructions
- Bake two 8-inch round cakes using chocolate batter. Let cool completely.
- Wrap and chill cakes for 30 minutes, then carve head shape based on Labubu cake template.
- Apply crumb coat of chocolate buttercream, chill, and add a second textured fur layer using star tip.
- Roll fondant and cut eyes, teeth, and tongue. Attach carefully with buttercream.
- Pipe fur around face, add ears using fondant-covered rice crispy treats.
- Add final details: shading, blush, and shimmer dust.
- Chill until ready to serve. Cut with hot knife for clean slices.
Notes
Use toothpicks or skewers for ear support.
Try a printed template to guide your decorating.
Nutrition
Table of Contents
Table of Contents
How to Make Labubu Cake at Home – A Sweet Start
Learning How to Make Labubu Cake from Scratch
I still remember the first time I wondered how to make Labubu cake. I’d seen the adorable character pop up in my feed—those fuzzy ears, mischievous grin, and wide cartoon eyes. I was instantly hooked. I knew I had to turn him into cake. But here’s the thing: I didn’t have a plan, just a craving to create something joyful and sweet. That’s how my journey with homemade Labubu cake began.
Instead of searching for perfection, I focused on fun. I baked a basic chocolate cake and carved the shape by hand. No fancy pans, just a knife and a chill in the fridge. That first try at a Labubu cake recipe was full of learning curves—but I was proud. I kept it simple and real, just like my baking roots. Now, when people ask me how to make Labubu cake, I tell them: start small, bake with love, and don’t overthink it.
If you’re planning to make Labubu cake at home, remember that charm always wins over perfection. The shape doesn’t have to be flawless—it just needs to feel like Labubu. Want a shortcut? Use a hand-drawn Labubu cake template like I did. I traced mine right off a plush toy.
If you’re a fan of playful character bakes, you’ll also enjoy this Bluey cake with its bold cartoon face and easy shape.
DIY Labubu Cake Decoration Made Easy
Once your cake base is baked and shaped, the next step in learning how to make Labubu cake is the decorating—aka the fun part. DIY Labubu cake decoration is where you bring that cute Labubu cake design to life. I used marshmallow fondant to create his face details and piped chocolate buttercream for his scruffy hair. The grin? White ganache and a toothpick worked magic.
Even if you’re new to kawaii-style cakes, this one is totally doable. That’s why I love showing others how to make Labubu cake—it’s approachable, fun, and filled with personality. You don’t need pro tools, just a little time and creativity.
You can also explore this Bluey and Bingo cake tutorial for more ideas on handling expressive cartoon faces with frosting.
Labubu Cake Ingredients and Preparation Tips
What You Need to Make Labubu Cake at Home
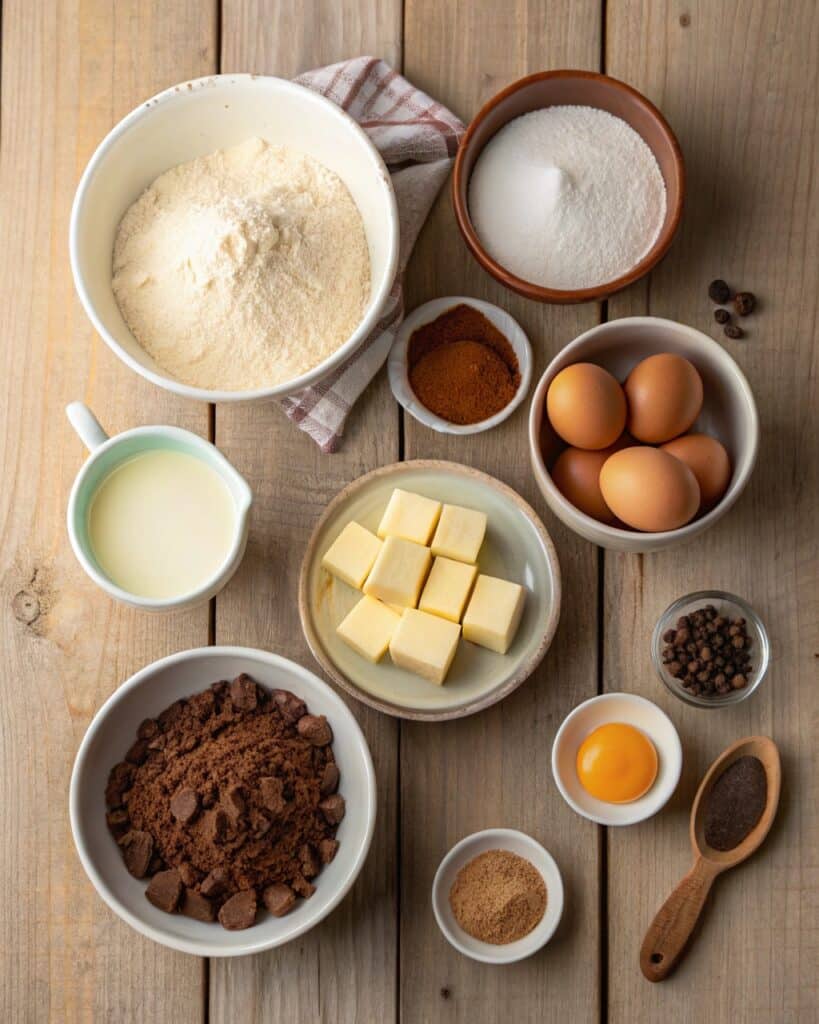
When you’re learning how to make Labubu cake, one of the first things you’ll need is a reliable cake base. I recommend starting with a moist, dense chocolate or vanilla cake that holds its shape well. This makes carving Labubu’s face and ears easier—and it tastes amazing. Here’s a breakdown of the essential Labubu cake ingredients you’ll need to make the base and get started on shaping.
| Ingredient | Purpose |
|---|---|
| 2 cups all-purpose flour | Cake structure |
| 1 cup unsweetened cocoa powder | Rich chocolate flavor |
| 1.5 cups buttermilk | Moist texture |
| 1 cup unsalted butter | Flavor and structure |
| 1 tsp baking soda + 1 tsp baking powder | Leavening agents |
| 4 large eggs | Binding and richness |
| 1 tbsp vanilla extract | Flavor base |
This Labubu cake recipe makes two 8-inch round cakes, which you can trim and shape into Labubu’s iconic head. Freeze the layers before carving to make clean cuts.
If you want a simple starting point, this easy chocolate cake for kids is perfect for shaping and stacking.
For a more grown-up flavor twist, a soft sponge like this coffee cake can be a fun alternative base.
Prep Tips Before You Make Labubu Cake
Now that your ingredients are ready, let’s get into prep. One of the most helpful tips when learning how to make Labubu cake is this: chill your cake layers before cutting. It makes the shaping process much smoother. I like to stack the cakes with a bit of buttercream between layers, then carve the general head shape using a small serrated knife.
Sketching your design in advance or using a printable Labubu cake template helps guide where the ears, eyes, and hairline go. Even if you’re doing a freeform version, a pencil sketch can save you from frosting regrets later.
Want to go the extra mile? Use a turntable when decorating and freeze your carved cake for at least 30 minutes before applying crumb coat. These small steps can seriously improve the final look of your cute Labubu cake design.
If you prefer working with creamier textures, this Chantilly cake shows how to get ultra-smooth finishes on layered desserts.
How to Make Labubu Cake Look Perfect – Decorating the Face
How to Make Labubu Cake Stand Out with Kawaii Details
If you’re serious about learning how to make Labubu cake, this is the step where everything comes together. The decorating phase transforms your carved cake into a charming, mischievous character. With the right tools and a little patience, you’ll create a face that captures Labubu’s playful spirit—and no, it doesn’t need to be bakery-perfect.
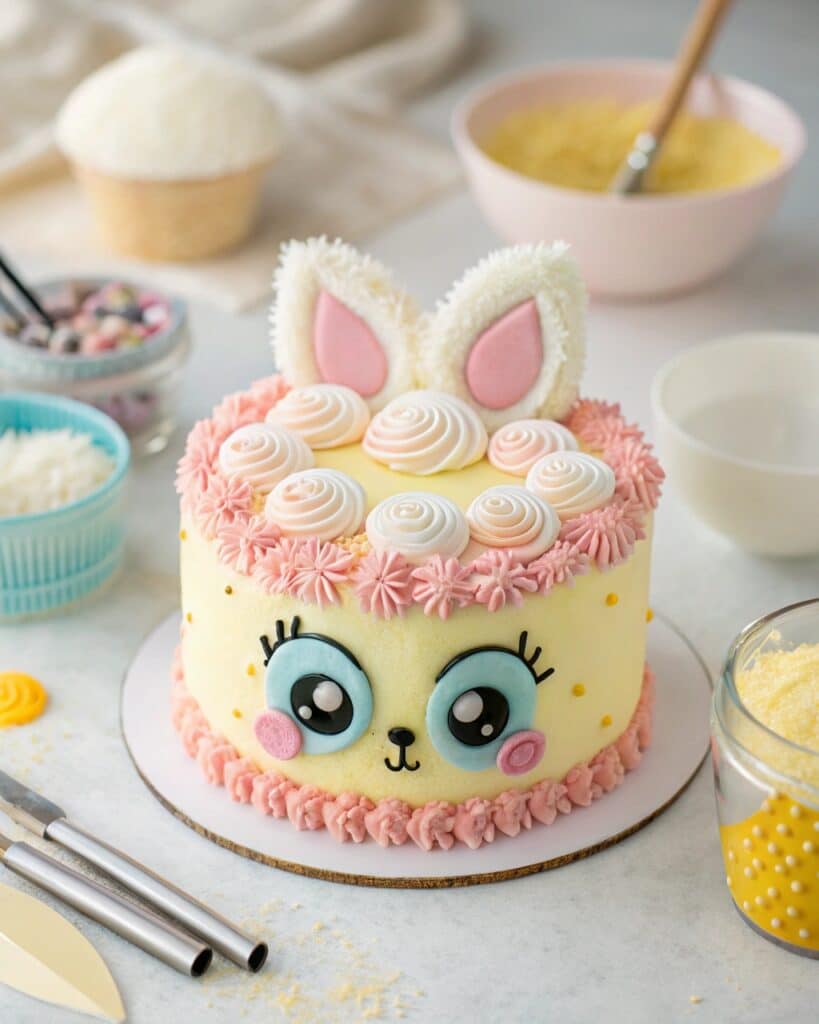
Start by applying a crumb coat of chocolate buttercream, then chill your cake for 15–20 minutes. A second layer of piped frosting gives Labubu that scruffy, animated texture. For the fur, I use a small star piping tip and swirl it around the head. This simple technique adds instant dimension and charm—essential when you’re learning how to make Labubu cake look expressive and fun.
Labubu’s signature features—those big eyes, oversized teeth, and furry ears—are the key to any cute Labubu cake design. I use marshmallow fondant for the face: cut white ovals for the eyes, small circles for the pupils, and shape the teeth with rolled fondant strips. Don’t stress about symmetry. Part of what makes a homemade Labubu cake so lovable is its imperfect personality.
Looking for flavor inspiration? This strawberry pound cake shows how fruit flavors can pair beautifully with character cakes.
DIY Labubu Cake Decoration Made Simple
One of the best parts about learning how to make Labubu cake is realizing how easy it can be with everyday tools. I didn’t start with a full set of fondant cutters—I used butter knives, toothpicks, and the back of a spoon. For the ears, I shaped crispy rice treats, then covered them in fondant. A food-safe skewer helps them stand tall on the cake—just remove it before slicing.
To add color, I rely on gel food coloring for both buttercream and fondant. A mix of dark cocoa and black creates Labubu’s fur shade, while pink and red are perfect for his tongue and cheeks. Add subtle textures by tapping with a clean sponge or fork—this brings your DIY Labubu cake decoration to life and helps the design pop in photos.
If you’re still learning how to make Labubu cake with personality, keep it fun. Imperfections aren’t mistakes—they’re what give each cake its charm. Your Labubu doesn’t have to be exact. He just has to feel like himself.
For those who want to add a bit more flair, try incorporating simple borders or textures using techniques like the ones in this Lambeth piping guide.
Final Touches and Serving Your Labubu Cake
How to Make Labubu Cake Look Adorable on the Table
Once you’ve piped the fur, placed the eyes, and nailed the smile, the last step in learning how to make Labubu cake is presentation. This is where you elevate your cake from “just cute” to “unforgettable.” A clean cake board, a themed backdrop, and some playful edible accents can take your cute Labubu cake design to the next level.
When I make Labubu cake at home for birthdays, I often add a ring of mini cupcakes or cookies around the base. Sometimes I pipe small paw prints or place star-shaped sprinkles in Labubu’s color palette. It doesn’t have to be complicated—just a few thoughtful touches to complete the scene. If you used a Labubu cake template to guide your shaping, you can print a mini version and place it beside the cake for guests to see the inspiration.
And don’t forget lighting if you’re snapping pics! Good natural light makes all the difference when showing off your homemade Labubu cake on social media or at a party.
I sometimes place mini cupcakes around the base of the Labubu cake for extra charm and portion flexibility.
Storing and Serving Your Labubu Cake
After all that decorating, you’ll want your cake to stay fresh and picture-perfect. If you’re wondering how to make Labubu cake in advance, here’s my go-to system: bake and carve the cake a day before, store it wrapped in the fridge, then decorate the next day. Fully frosted and decorated cakes can be stored in a box in the fridge for up to 3 days—but fondant prefers cool, dry air, not direct cold, so avoid condensation.
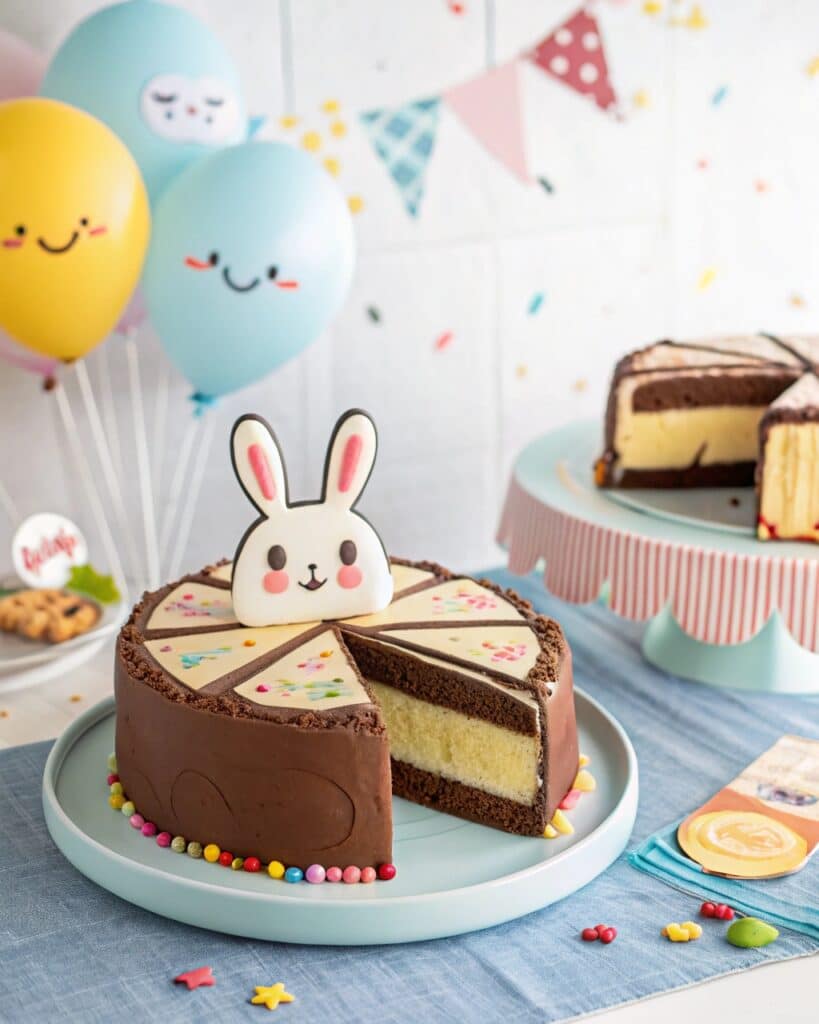
When it’s time to serve, use a sharp, hot knife for clean cuts, especially through buttercream and fondant layers. Expect your guests to ask, “How did you make this?!”—and be ready to share your new favorite topic: how to make Labubu cake from scratch.
FAQs
What’s the best base cake for making Labubu?
Chocolate or vanilla works great! Just use a dense, moist cake so it’s easy to carve and stack.
Do I need special tools to make Labubu cake?
Nope! You can make Labubu cake at home with basic kitchen tools—knives, piping bags, toothpicks, and your hands.
Where can I find a Labubu cake template?
I’ve created a free printable Labubu cake template you can trace or cut out for shaping. (Include a download link or reference to your tools page.)
How far in advance can I make Labubu cake?
Bake the cake 1–2 days in advance. Decorate up to 24 hours ahead for best texture and detail preservation.
Conclusion
Now that you know how to make Labubu cake step by step—from baking to decorating to serving—it’s time to try it for yourself. Whether it’s your first attempt or your fiftieth, each Labubu cake tells a story. It’s not just about cake—it’s about creativity, joy, and sharing something you made with your hands.
So grab your ingredients, sketch out that grin, and bring Labubu to life in your kitchen. And if you do, tag me—I’d love to see how your homemade Labubu cake turns out!
for more cake recipes follow us in facebook page

